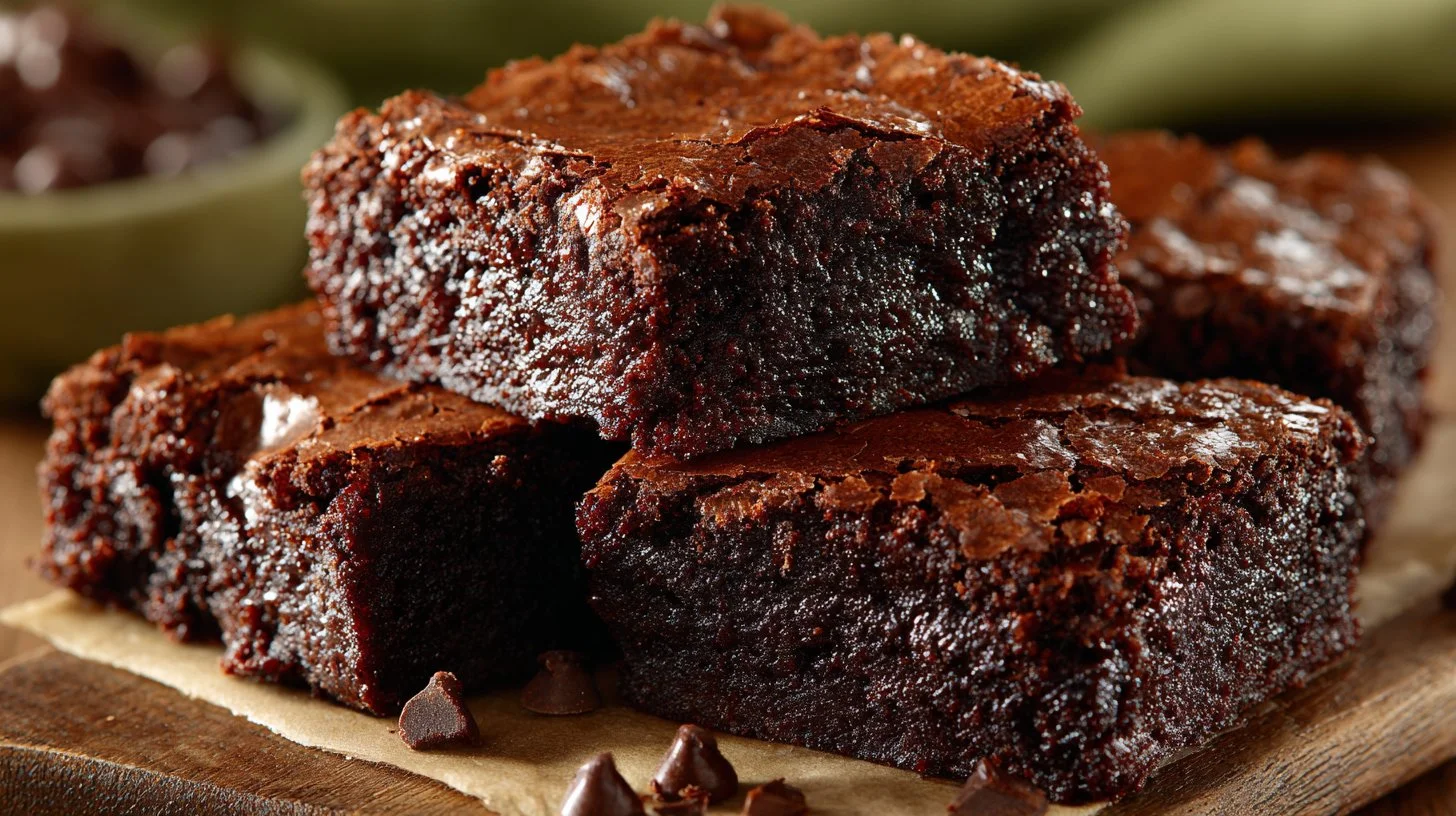
Indulge in a rich, chocolatey experience with a dessert that will leave your taste buds dancing. Each bite promises an intense cocoa flavor, complemented by a moist and fudgy texture that’s simply irresistible. This treat is not only perfect for satisfying a sweet tooth but also ideal for sharing on special occasions or keeping all to yourself. Once they emerge from the oven, the aroma of melted chocolate engulfing your kitchen will make it impossible to resist cutting into these delectable squares right away.
Quick Snapshot: What You’re Getting (In Plain English)
- Ready in 30 minutes, perfect for any home baker – beginner-friendly
- Decadently rich with a deep chocolate flavor and a gooey, fudgy texture
The “Why It Works” That Actually Helps You Cook
Understanding the method behind these brownies is key to achieving the perfect result. Melting the butter first ensures a silky batter that integrates smoothly with the sugar and eggs, creating a rich foundation. The mix of cocoa powder and flour provides depth without overwhelming sweetness. Baking just until the edges are set while leaving the center slightly soft guarantees a fudgy interior. Keep an eye on your oven, as every appliance runs a little differently!
The Ingredient Lineup (Plus Smart Swaps That Won’t Ruin It)
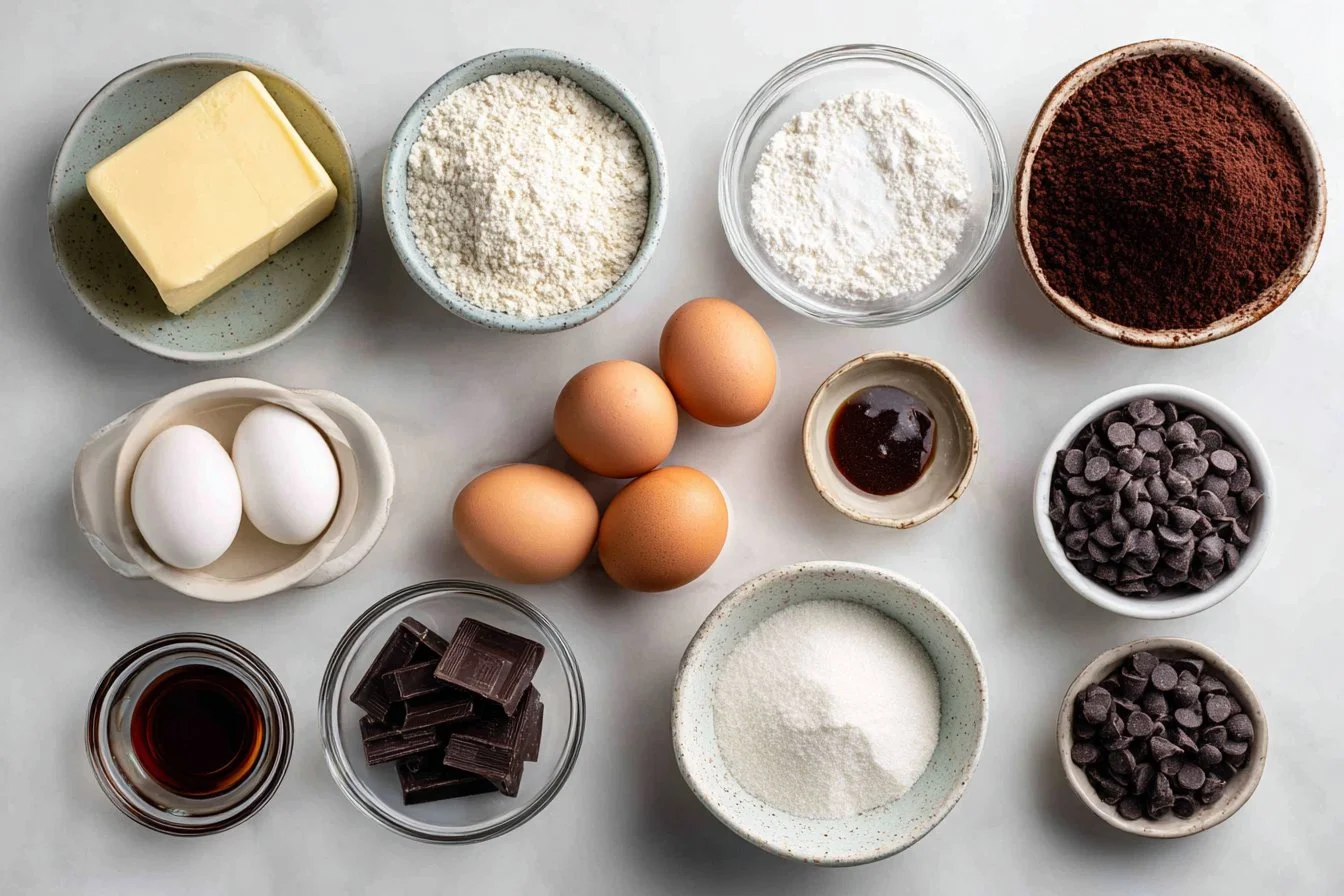
- 1 cup unsalted butter – can substitute with coconut oil for a dairy-free option
- 2 cups granulated sugar – brown sugar adds moisture and depth
- 4 large eggs – egg substitutes like applesauce can work for vegan options
- 1 tablespoon vanilla extract – use pure vanilla for a richer flavor
- 1 cup all-purpose flour – can swap for gluten-free flour blend
- 1 cup unsweetened cocoa powder – Dutch-processed cocoa provides a smoother flavor
- 1/2 teaspoon salt – enhances the chocolate flavor
- 1/2 teaspoon baking powder – ensures a slight rise for texture
- 1 cup chocolate chips (optional) – mix in white chocolate or peanut butter chips for a twist!
Do This, Then This: The Foolproof Step-by-Step
- Preheat your oven to 350°F (175°C) and grease a 9×13 inch baking pan thoroughly.
- In a saucepan over low heat, melt the butter, watching closely to avoid browning. Once melted, remove from heat and stir in the granulated sugar, followed by the eggs and vanilla until fully integrated.
- Next, add in the flour, cocoa powder, salt, and baking powder. Mix until just combined; be careful not to overwork the batter. The blend should be thick and slightly glossy.
- If you’re including chocolate chips, fold them in now for an extra melty surprise.
- Pour the batter into the prepared baking pan, spreading it evenly with a spatula.
- Bake in the preheated oven for 20-25 minutes. The edges should look set, while the center remains a bit soft for that ultimate fudgy texture.
- Allow the brownies to cool in the pan before cutting them into squares, which will help maintain their structure.
Flavor + Texture: What You Should Notice in Every Bite
Each bite unveils an explosion of flavors, where the rich cocoa and subtle sweetness are perfectly balanced. The outer layers provide a slight crust, giving way to an intensely fudgy center that’s both satisfying and delightful. If you prefer a deeper chocolate flavor, consider using dark cocoa powder. For added complexity, a pinch of sea salt on top after baking elevates the sweet notes, creating a perfect contrast. Remember, the brownies should be a bit underbaked for an ultra fudgy result.
Speedy Prep with Simple Ingredients: Your New Go-To Weeknight Treat
Throw together a batch of brownies with just a saucepan and a spatula! With minimal prep and a quick baking time, these brownies make for the ideal weeknight dessert. Keep them on hand for spontaneous gatherings or those late-night cravings. Simply measure and mix in one bowl, then pour into the pan and pop them in the oven – no elaborate kitchen tools required, making clean-up a breeze too.
Bake and Freeze: Keep Your Treats Fresh for Later Enjoyment
If you want to enjoy these brownies over time, consider baking a double batch and freezing half. Once cooled completely, wrap them tightly in plastic wrap and place them in a freezer-safe bag. When you’re ready to indulge, simply remove and allow to thaw at room temperature. They’ll taste just as delicious as the day you baked them, perfect for busy days or unexpected guests!
Perfecting the Gooey Factor: Tips for the Ultimate Youthful Texture
Achieving the ultimate fudginess relies on the balance of baking time and temperature. If you find that your brownies come out too dry, decrease the baking time by a couple of minutes. Remember, they will continue to cook slightly in the pan even after removing them from the oven. Always keep an eye on the edges; if they look set while the middle jiggles slightly, you’re right on track for that gooey center.
Ingredient Modification Magic: Vegan and Gluten-Free Options Made Easy
Catering to dietary needs is simpler than you think! To whip up vegan brownies, replace the eggs with equal parts unsweetened applesauce or a flaxseed mixture. For a gluten-free variation, substitute the all-purpose flour with a 1:1 gluten-free baking blend. This way, everyone can enjoy the rich taste, ensuring nobody misses out on this indulgent treat.
Common Baking Hurdles and Their Quick Fixes for a Seamless Experience
– **Overmixing**: This can lead to tough brownies; mix just until combined. – **Underbaking**: If they’re too soft, bake an additional 2-3 minutes with a visual check. – **Dry Texture**: Next time, ensure you’re measuring your flour correctly; spoon it into the measuring cup rather than scooping. – **Burnt Edges**: Lower the oven’s temperature by 25°F if the edges are browning too quickly. – **Too Much Cocoa Bitterness**: Balance with the right amount of sugar or add a pinch of sea salt on top before baking.
Make It Yours: 6 Variations That Still Keep the Recipe Solid
– **Nutty Delight**: Fold in walnuts or pecans for a crunchy texture. – **Minty Fresh**: Add peppermint extract to the batter for a refreshing twist. – **Spicy Heat**: Mix in a dash of cayenne for a surprising kick against the chocolate. – **S’mores Style**: Top with mini marshmallows and crushed graham crackers after baking for a camping classic. – **Zesty Orange**: Incorporate orange zest into the batter for a bright pop of flavor. – **Caramel Swirl**: Drizzle caramel sauce into the batter before baking, creating a gooey center.
Quick Answers Before You Start
Can I make these brownies ahead of time?
Yes! They can be baked a day or two in advance and stored properly, maintaining their rich texture.
How do I store leftovers?
Keep them in an airtight container at room temperature for up to four days or refrigerate for up to a week. For longer, freeze them!
Can I freeze brownies?
Absolutely! Once completely cooled, wrap them tightly in plastic and freeze for up to three months. Thaw at room temperature.
What if I want a gluten-free version?
Use a gluten-free all-purpose flour blend to maintain the perfect texture and flavor you’re looking for!
How do I know when my brownies are done?
Look for set edges and a slightly soft middle; a toothpick should come out with a few moist crumbs.
Are they kid-friendly?
Definitely! Their rich chocolate flavor and fudgy texture make them a favorite among kids and adults alike.
Final Notes (So You Nail It the First Time)
Dive into this decadent dessert that brings joy with every bite. With simple ingredients and straightforward steps, perfecting these indulgent squares is easier than you think. Gather your ingredients and get started—these delightful treats should be on your table tonight! Save, print, or share to ensure that everyone knows how to make these utterly satisfying brownies.
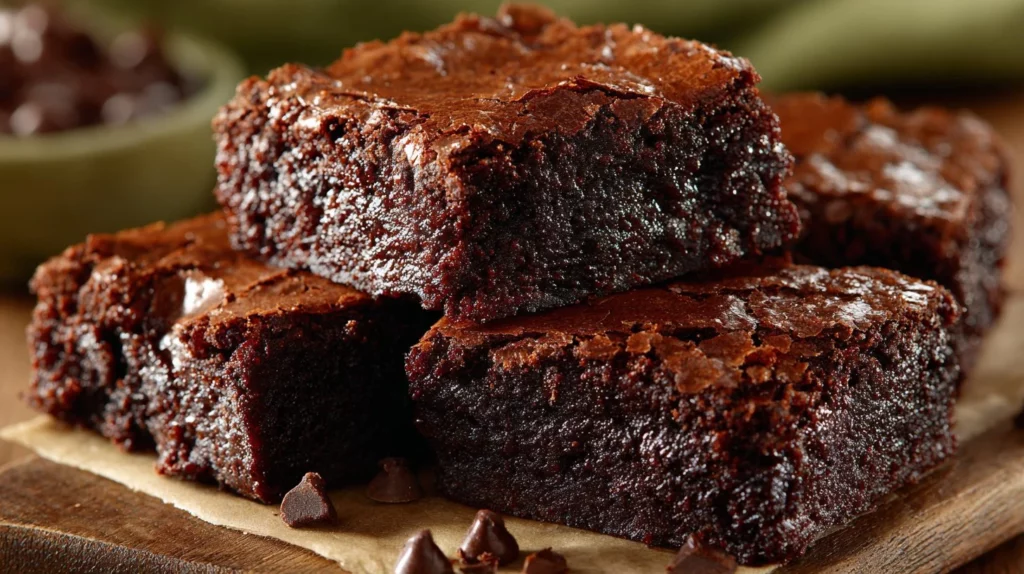
Fudgy Chocolate Brownies
Ingredients
Method
- Preheat your oven to 350°F (175°C) and grease a 9x13 inch baking pan thoroughly.
- In a saucepan over low heat, melt the butter, watching closely to avoid browning.
- Once melted, remove from heat and stir in the granulated sugar, followed by the eggs and vanilla until fully integrated.
- Next, add in the flour, cocoa powder, salt, and baking powder. Mix until just combined; be careful not to overwork the batter. The blend should be thick and slightly glossy.
- If you’re including chocolate chips, fold them in now for an extra melty surprise.
- Pour the batter into the prepared baking pan, spreading it evenly with a spatula.
- Bake in the preheated oven for 20-25 minutes. The edges should look set, while the center remains a bit soft for that ultimate fudgy texture.
- Allow the brownies to cool in the pan before cutting them into squares, which will help maintain their structure.