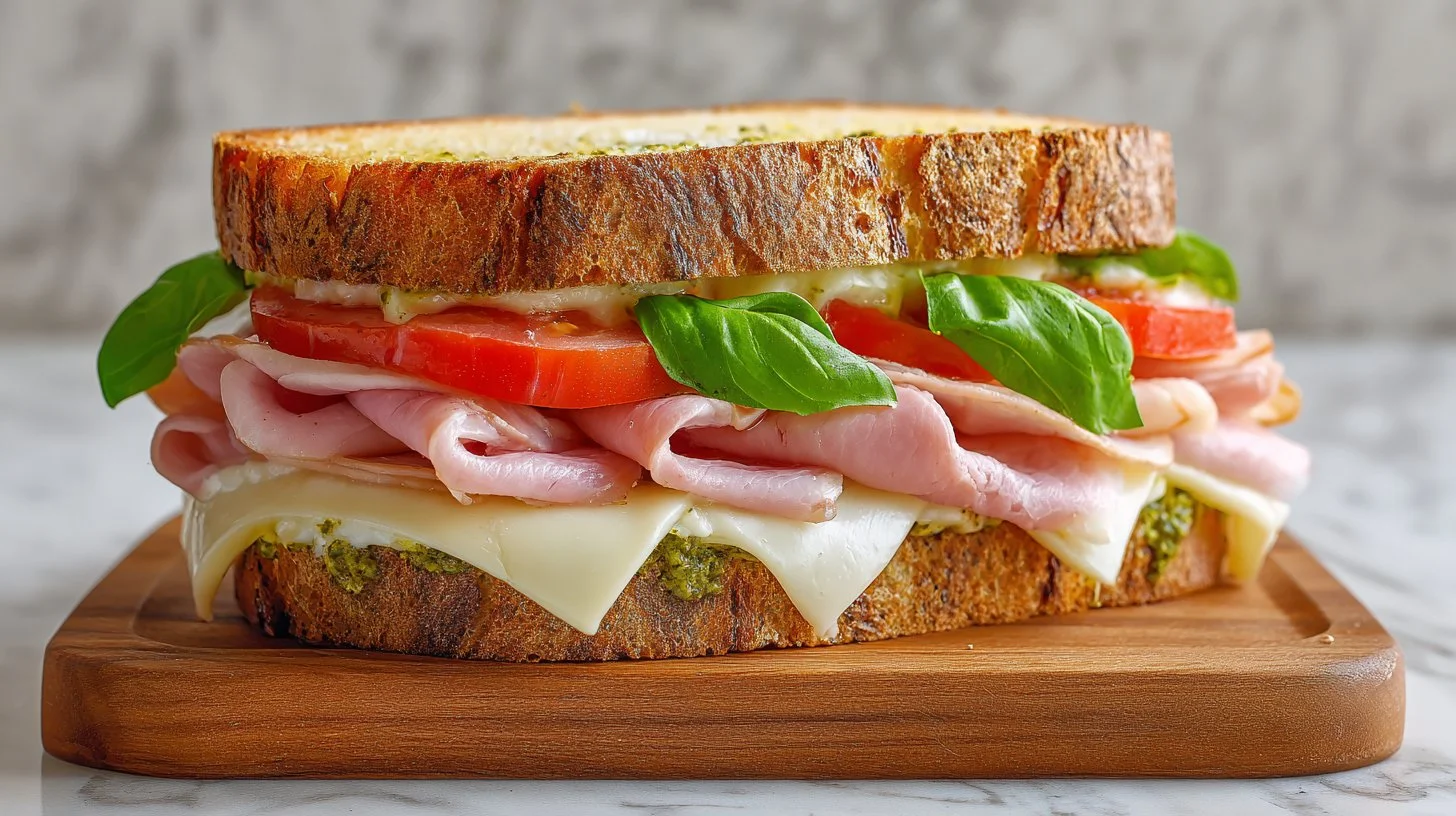
Elevate your sandwich game with a delicious blend of textures and flavors that are sure to satisfy your cravings. Picture layers of creamy cheese melting together with savory ham, all embraced by crisp, toasted artisan bread. Accents of vibrant pesto and zesty tomato spread elevate the experience, making each bite a delightful journey. Whether you’re crafting a quick lunch or a satisfying dinner, this offer delivers unbeatable flavor and indulgence in every crunchy slice.
Quick Snapshot: What You’re Getting (In Plain English)
- Time: 15 minutes | Difficulty: Easy | Servings: 2 | Best Occasion: Quick lunch or casual dinner
- Flavor Notes: Rich creaminess from the cheese, savory depth from the ham, and a fresh, herbal lift from the pesto
- Texture Promise: Crispy on the outside with a melty interior
The “Why It Works” That Actually Helps You Cook
The secret behind crafting a perfect sandwich lies in layering flavors and textures harmoniously. Using artisan bread offers a robust foundation that complements the rich, creamy cheese and savory ham. Toasting the sandwich allows the bread to develop a crisp exterior while sealing in moisture, creating a delightful contrast that’s essential for an unforgettable bite. Focus on the heat control while grilling—too high and you’ll burn the bread before the cheese melts properly. Patience here means perfection.
The Ingredient Lineup (Plus Smart Swaps That Won’t Ruin It)
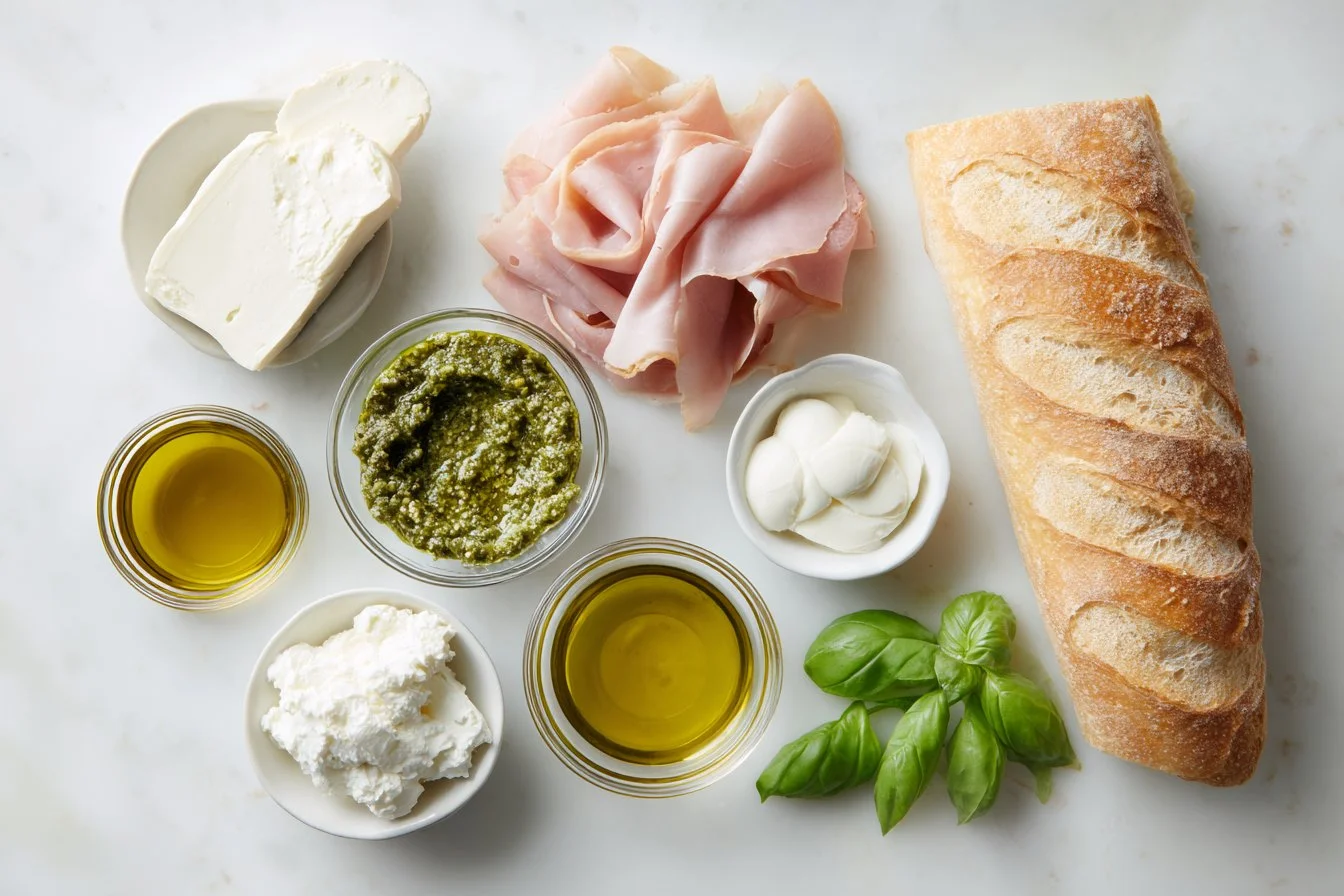
- Artisan bread: Choose ciabatta or sourdough for an airy yet sturdy structure.
- Creamy cheese: Mozzarella or provolone brings a delightful melt; try burrata or gouda for a twist.
- Ham: Select thinly sliced deli ham; smokehouse turkey or roasted chicken makes excellent alternatives.
- Pesto sauce: Traditional basil pesto is classic, but try sun-dried tomato or spinach varieties for an exciting change.
- Tomato spread: Any good-quality tomato basil sauce can be used; consider mixing in a hint of balsamic for added depth.
- Fresh basil: While optional, it adds a burst of freshness; arugula or spinach could substitute nicely.
{image_template}
Do This, Then This: The Foolproof Step-by-Step
- Begin by slicing your choice of artisan bread horizontally to create sandwich halves.
- Generously spread tomato spread on the bottom half; ensure you cover it completely for maximum flavor.
- Layer the creamy cheese evenly over the tomato spread, allowing it to overlap slightly for better melting.
- Top with thin slices of ham, ensuring an even distribution to avoid any dry bites.
- Spread a layer of pesto on top of the ham—don’t be shy, it’s where that flavor explosion comes from!
- If using, scatter fresh basil leaves generously on top of the pesto layer.
- Close the sandwich with the top half of the bread, pressing down gently to meld flavors.
- Grill or toast the sandwich in a pan over medium heat for 3-5 minutes per side, flipping carefully until the bread is golden brown and the cheese is wonderfully melted.
- Once done, slice the sandwich in half and serve warm, ideally with a side of crispy chips or a refreshing salad.
Flavor + Texture: What You Should Notice in Every Bite
As you take your first bite, notice the delightful contrast between the crisp exterior and the soft, molten inside. The creamy cheese envelops the savory ham while the tomato spread adds a tangy sweetness, perfectly balanced by the herby richness of pesto. Each flavor complements another, creating a harmonious blend. If you feel the need for a little zing, a splash of lemon juice or extra fresh basil can elevate the freshness. This thoughtful assembly promises flavor with a satisfying texture that never disappoints.
Crafting the Perfect Pesto for an Extra Flavor Punch
Creating your own pesto is surprisingly easy and incredibly rewarding. Embrace fresh basil, toasted pine nuts, garlic, and a good drizzle of olive oil, blended until smooth. Homemade pesto not only enhances the flavor but allows for customization—experimentation with ingredients like kale or walnuts can yield exciting new flavors. Serve this sandwich with your homemade pesto for a burst of freshness that supermarket versions simply can’t replicate, offering a gourmet edge even to a quick meal.
Grilling Secrets for That Extra Crispy Finish
When grilling the sandwich, achieving the perfect crispy finish is key. Use a cast-iron skillet or a griddle for an even sear—this method allows for gentle heat distribution, helping both the cheese melt beautifully while caramelizing the bread. Ensure you preheat the skillet before placing the sandwich down to avoid overly greasy bread. For a delicious twist, consider adding a little butter to the pan before grilling—a golden, flavorful crust on your sandwich makes a world of difference.
Easy Swaps for Different Dietary Preferences
Crafting a sandwich that caters to various dietary needs has never been more accessible. For a gluten-free option, simply choose a gluten-free artisan bread, ensuring the texture holds up under grilling. For dairy-free needs, there are outstanding vegan cheese options available that melt without compromising taste. You can even switch the ham for a plant-based alternative, making it suitable for vegetarians or vegans without losing the heartiness of the meal.
Meal Prep Tips: Make It Easy, Make It Ready
Preparing sandwiches ahead can save time on busy days. Assemble the sandwiches (minus grilling) and wrap them tightly in plastic wrap to keep them fresh. They can be stored in the fridge for up to 24 hours and grilled just before serving. Alternatively, if you plan to make larger batches, consider grilling the sandwiches before cooling and wrapping, then you can reheat them in an oven for that crispy texture. This ensures the internal cheese remains gooey and enjoyable, perfect for a leisurely lunch or dinner.
How to Serve It (So It Feels Like a Full Win)
– Pair with a crisp side salad tossed in a light vinaigrette for a refreshing contrast. – Serve alongside kettle chips or sweet potato fries for a crunchy, satisfying accompaniment. – Add a pickle or olives on the side for an extra touch of tanginess. – Consider pairing with a chilled glass of lemonade or iced tea for a perfect meal. – Serve with a warm bowl of tomato soup for a cozy, nostalgic combination. – Enhance the experience with flavored sparkling water or a light wine for a more adult finish.
Storage, Leftovers, and Make-Ahead (Without Losing Texture)
For optimal enjoyment of leftovers, store any ungrilled sandwiches in an airtight container in the fridge for up to 24 hours. When ready to eat, grill them fresh to ensure they retain their crispy exterior and gooey interior. If you end up with leftovers post-grilling, wrap them tightly in foil and refrigerate; consume within 2 days. Unfortunately, freezing isn’t recommended as the texture of the bread and cheese may compromise upon thawing.
Common Mistakes (And the Fast Fix for Each One)
– **Mistake:** The bread is too soggy. **Fix:** Ensure your sauces are spread evenly and not over-saturated. A light hand with tomato spread can help.
- Mistake: Cheese isn’t melting.
- Fix: Use medium heat and cover the skillet briefly while grilling; this helps trap the heat.
- Mistake: Sandwich is falling apart.
- Fix: Layer ingredients with care, ensuring a solid base to prevent slippage.
- Mistake: Burned outside, cold inside.
- Fix: Adjust the heat lower and cook longer to achieve a perfect toast while allowing time for the cheese to melt.
- Mistake: Too much pesto making it messy.
- Fix: Start with a thin layer, and build up to your desired taste; moderation keeps a clean bite.
Make It Yours: 6 Variations That Still Keep the Recipe Solid
1. **Mediterranean Twist:** Substitute feta cheese and olives for a tangy change. 2. **Spicy Kick:** Add sliced jalapeños or a drizzle of sriracha for heat. 3. **Breakfast Version:** Include scrambled eggs and avocado for a filling brunch option. 4. **Caprese Style:** Swap basil for fresh tomatoes and top with balsamic reduction for a fresh flavor balance. 5. **Savory Veggie Delight:** Roasted red peppers and spinach replace ham for a fresh vegetarian option. 6. **Herbed Delight:** Blend herb-infused cream cheese into the layers for an aromatic twist.
Quick Answers Before You Start
Can I make these sandwiches ahead of time?
Absolutely! Assemble without grilling, wrap tightly, and refrigerate for up to 24 hours, then grill fresh when ready.
Are there any freezer-friendly options?
These sandwiches don’t freeze well because the bread and cheese texture may suffer. It’s best to enjoy them fresh.
How can I make this kid-friendly?
Simplifying flavors by using plain cheese and ham, or switching to turkey and less pesto can appeal to picky eaters.
Is there a gluten-free version?
Yes! Substitute the artisan bread with a gluten-free alternative while keeping the fillings the same.
What if I don’t have pesto?
You can replace it with a flavorful herb spread or tapenade for that extra depth, or simply leave it out.
How do I avoid soggy bread when grilling?
Use a light hand with spreads, allowing flavors to shine without making the bread soggy—grill until golden brown!
Final Notes (So You Nail It the First Time)
Crafting this delightful sandwich is easier than you think! With the right tools and techniques, the result is an unforgettable flavor combination that beckons for a second helping. Don’t wait—grab your ingredients and make this treat tonight! Save or print this recipe for a scrumptious meal you’ll want to return to regularly.
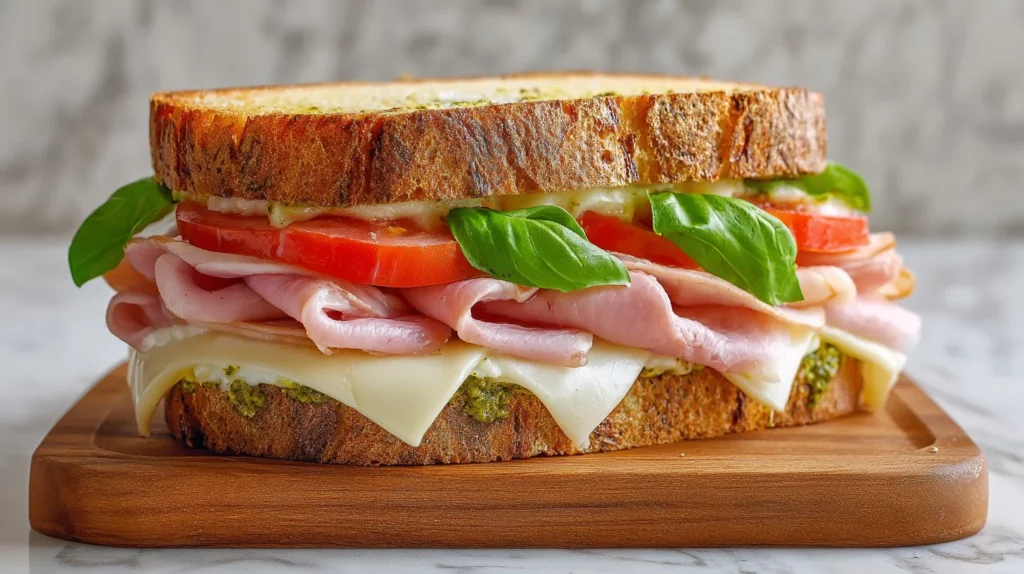
Melty Ham and Cheese Sandwich
Ingredients
Method
- Slice your artisan bread horizontally to create sandwich halves.
- Spread tomato spread on the bottom half, ensuring it covers completely.
- Layer creamy cheese evenly over the tomato spread.
- Top with thin slices of ham for even distribution.
- Spread a layer of pesto on top of the ham.
- If using, scatter fresh basil leaves on top of the pesto.
- Close the sandwich with the top half of the bread and press gently.
- Grill or toast the sandwich in a pan over medium heat for 3-5 minutes per side until golden brown.
- Slice the sandwich in half and serve warm, ideally with a side of chips or salad.