As you dive into this delightful cheesy experience, expect a satisfying crunch and warm, gooey goodness with every bite. These treats offer a tantalizing blend of flavors, from the rich creaminess of melted mozzarella to the aromatic herbs and spices enveloping each stick. Perfect for snacking, parties, or movie nights, they are sure to capture the attention of everyone around. As you prepare to indulge, be ready to impress with a culinary creation that’s as fun to make as it is to eat!
Quick Snapshot: What You’re Getting (In Plain English)
- Time: About 1 hour and 30 minutes; Difficulty: Easy; Servings: 12 (or more, depending on portioning); Best occasion: Game day, movie night, or casual gatherings.
- Flavor notes: Rich, cheesy, subtly spiced; Texture promise: Golden, crispy exterior with a melty center.
The “Why It Works” That Actually Helps You Cook
Achieving that perfect balance of crunch and goo requires careful preparation. First, freezing the mozzarella sticks helps maintain their shape during cooking, preventing a mess while enhancing their gooey texture. The three-bowl method—flour, egg, and seasoned panko—ensures an even and thick coating, which yields the ultimate crispy crust. Additionally, the second freeze allows the breading to adhere better, so you’re not left with sad, soggy sticks. Keep a close eye on the baking time; golden brown is your cue for perfect doneness.
The Ingredient Lineup (Plus Smart Swaps That Won’t Ruin It)
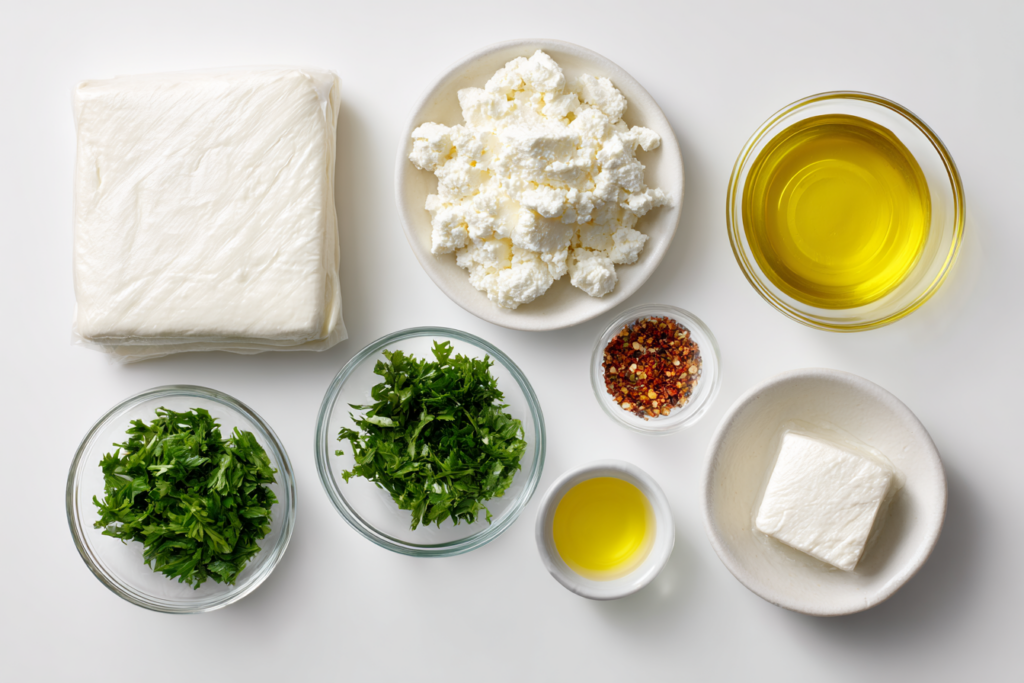
- 12 mozzarella cheese sticks, cut in half
- 2 large eggs, beaten (can use a flaxseed mixture for a vegan alternative)
- 1 cup all-purpose flour (substitute with gluten-free flour for dietary needs)
- 1½ cups panko breadcrumbs (regular or gluten-free for crunch)
- 1 teaspoon garlic powder
- 1 teaspoon onion powder
- 1½ teaspoons Italian seasoning
- ½ teaspoon paprika
- ½ teaspoon salt
- ¼ teaspoon black pepper
- Fresh parsley for garnish (optional)
- Olive oil spray for baking
Do This, Then This: The Foolproof Step-by-Step
- Start by cutting the mozzarella sticks in half and arrange them on a tray. Place in the freezer for 45 minutes to firm up.
- While the cheese is freezing, prepare your breading stations: in one bowl, add the flour; in a second bowl, beat the eggs; and in a third bowl, combine the panko, garlic powder, onion powder, Italian seasoning, paprika, salt, and black pepper.
- Take each frozen cheese stick and first dip it in the flour, ensuring complete coverage. Tap off any excess.
- Next, coat the stick in the beaten eggs, allowing the excess to drip off before transferring it to the seasoned panko breadcrumbs, pressing lightly to adhere.
- To achieve extra crunch, repeat the egg dip followed by another coat of breadcrumbs. Place the coated sticks back in the freezer for another 30 minutes.
- While they chill, preheat your oven to 400°F. Line a baking sheet with parchment paper and lightly spray it with olive oil.
- After chilling, arrange the sticks on the prepared tray, spray the tops with olive oil, and bake for 9–11 minutes until they are golden brown and crispy. Serve immediately with your favorite dipping sauce!
Flavor + Texture: What You Should Notice in Every Bite
These cheesy delights present a robust flavor experience layered with herbs and spices providing a delightful punch against the creamy mozzarella. As you take your first bite, the crunch from the breadcrumb coating gives way to a warm, gooey center. The combination of garlic, onion, and Italian seasoning creates a savory backdrop, dancing perfectly with the mild cheese. For those who enjoy a bolder flavor, consider adjusting the seasoning. Adding red pepper flakes or switching up the herbs can transform the profile to match your taste.
Perfectly Crispy Every Time: Tips for Panko Success
To achieve that signature crunch, ensure you’re using fresh panko breadcrumbs; they provide a lighter, airier texture compared to regular breadcrumbs. Consider toasting the panko in a dry skillet for a few minutes before using it to enhance both flavor and crunch. The key is to create a sturdy first coating by pressing the breadcrumbs firmly onto the cheese sticks after dipping them in the egg wash. This way, they stick well and deliver that crunch you crave!
Cheesy Fun Without the Wait: Ready in Under 30 Minutes!
When you’re short on time and need a quick snack, try this hassle-free prep method. By cutting the cheese sticks into smaller pieces, you can reduce freezing time significantly while retaining the same crispy results. Grab pre-made panko breadcrumbs to save more time and use a light spray of oil directly on the sticks before baking for that golden finish. This way, you’ll be able to whip up an incredible cheesy snack in just 30 minutes without missing out on flavor or texture.
Family-Friendly Snack: Kid-Approved and Fun to Dive Into
These cheesy bites are not only delicious but also a hit with kids of all ages! To make the experience even more engaging, set up a “create-your-own coating station” where kids can decorate their own cheese sticks with various toppings, like sesame seeds or crushed chips. Additionally, pair them with vibrant dip options such as marinara sauce or ranch dressing for an extra fun flavor adventure that elevates snack time!
Flavorful Finishing Touches: The Perfect Dipping Sauces to Elevate Your Snack
Don’t forget the finishing touches when serving! Pair these cheesy sticks with a variety of dipping sauces that complement their rich flavor. Classic marinara is always a hit, but consider trying pesto for a fresh twist or honey mustard for a sweet-savory combo. For a spicy kick, a sriracha mayo blend will awaken your taste buds while providing an interesting flavor dimension.
Everything You Need to Know for Storing Leftovers Without Compromise
To keep these delights fresh, store any leftovers in an airtight container in the refrigerator for up to 3 days. When it’s time to revisit, reheating in an air fryer for a few minutes can restore their crunch—so you won’t be stuck with soggy leftovers! Freezing is an option too; just layer them between sheets of parchment paper in an airtight container for a quick snack later on. They’ll hold up well in the freezer for up to 2 months, retaining their incredible texture upon reheating.
Common Mistakes (And the Fast Fix for Each One)
– **Soggy Coating:** Ensure you freeze the sticks long enough to set the breading, and make sure to spray them well with oil before baking.
– **Cheese Leakage:** Don’t rush the freezing process; it’s crucial to chill them adequately before and after breading.
– **Uneven Cooking:** Rotate the baking sheet halfway through to ensure even browning for all sticks.
– **Breading Falling Off:** Press the panko firmly onto the cheese after dipping, and consider using a second coating for added security.
– **Underseasoned Breading:** Taste the breadcrumb mixture before coating to adjust flavors to your liking.
Make It Yours: 6 Variations That Still Keep the Recipe Solid
1. **Buffalo Style:** Add mild buffalo sauce to the egg wash for a spicy kick.
2. **Cheddar Mix:** Replace half the mozzarella with sharp cheddar for a tangy twist.
3. **Herb-Infused:** Mix fresh herbs like basil or oregano into the panko for added freshness.
4. **Parmesan Boost:** Incorporate grated Parmesan cheese into the breadcrumb mixture for an enhanced depth of flavor.
5. **Spicy Garlic:** Mix garlic powder and cayenne pepper in the panko for an extra spicy kick.
6. **Sweet Chili Sauce Dip:** Serve with a sweet chili sauce for a fun, sweet contrast to the cheese.
Quick Answers Before You Start
Can I make these ahead of time?
Absolutely! You can prepare and coat the cheese sticks, then freeze them before baking. Just pop them in the oven straight from the freezer for a quick snack.
Are these gluten-free friendly?
Yes, simply swap out the all-purpose flour and panko for gluten-free alternatives to enjoy the same deliciousness.
What dipping sauces pair well?
Marinara, ranch, honey mustard, or spicy mayo are all excellent choices to enhance the flavor experience!
How long can I store leftovers?
Store in an airtight container for up to 3 days in the refrigerator. You can freeze them for up to 2 months for later snacking.
Why is freezing important?
Freezing helps the cheese retain its shape, preventing leakage during baking and enhancing the gooey texture.
Can I reheat them without losing texture?
Yes! Reheat in an air fryer for the best results to maintain that crispiness.
Final Notes (So You Nail It the First Time)
Dive into this cheesy, crispy delight and get ready to impress at your next gathering or just enjoy a fun snack at home. With the right techniques and a few pro tips, you’ll be crafting these delicious bites like a seasoned chef. Ready to get cooking? Gather your ingredients, and make it a night to remember!
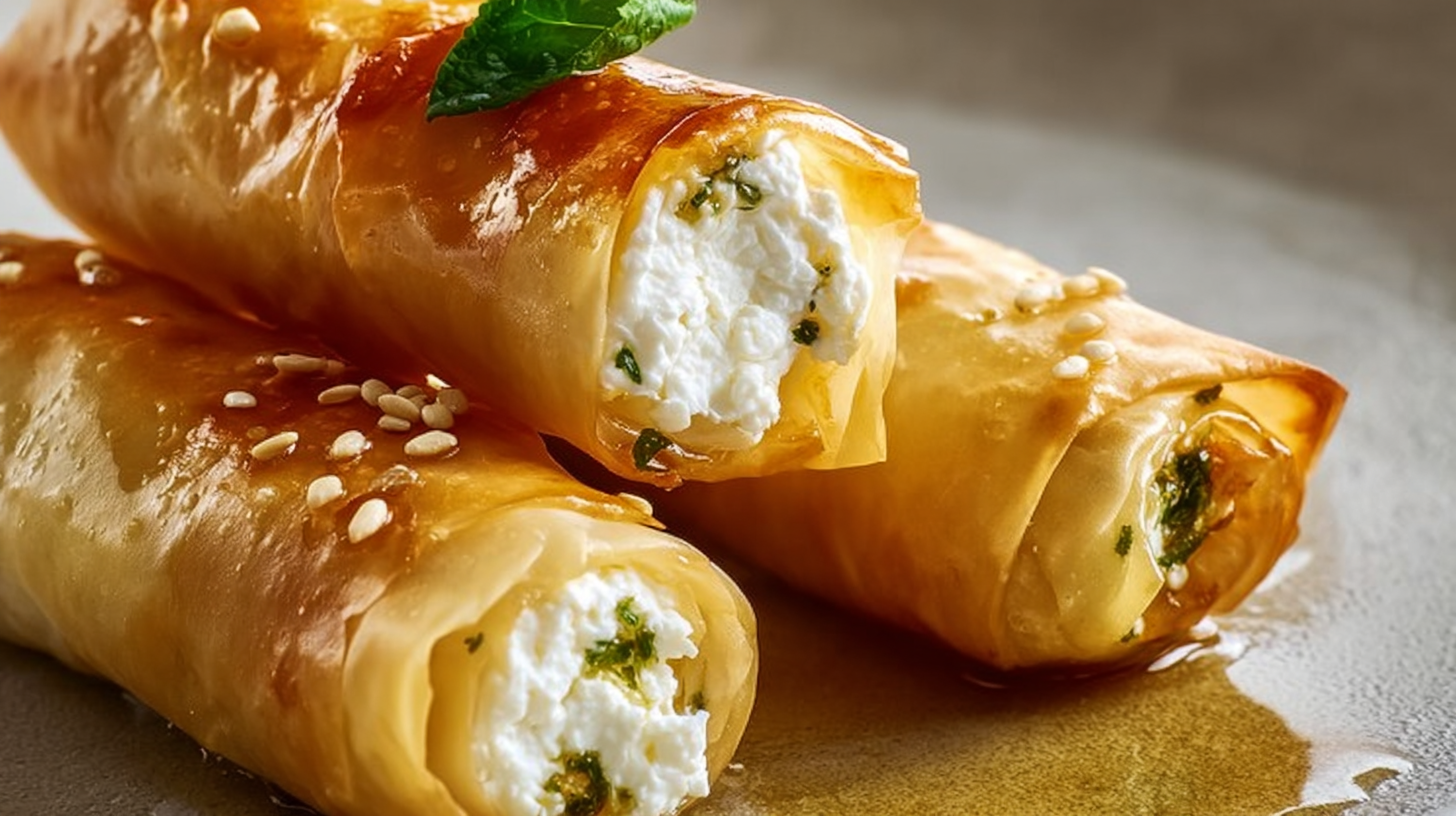
Cheesy Mozzarella Sticks
Ingredients
Method
- Start by cutting the mozzarella sticks in half and arrange them on a tray. Place in the freezer for 45 minutes to firm up.
- While the cheese is freezing, prepare your breading stations: in one bowl, add the flour; in a second bowl, beat the eggs; and in a third bowl, combine the panko, garlic powder, onion powder, Italian seasoning, paprika, salt, and black pepper.
- Take each frozen cheese stick and first dip it in the flour, ensuring complete coverage. Tap off any excess.
- Next, coat the stick in the beaten eggs, allowing the excess to drip off before transferring it to the seasoned panko breadcrumbs, pressing lightly to adhere.
- To achieve extra crunch, repeat the egg dip followed by another coat of breadcrumbs. Place the coated sticks back in the freezer for another 30 minutes.
- While they chill, preheat your oven to 400°F. Line a baking sheet with parchment paper and lightly spray it with olive oil.
- After chilling, arrange the sticks on the prepared tray, spray the tops with olive oil, and bake for 9–11 minutes until they are golden brown and crispy.
- Serve immediately with your favorite dipping sauce!