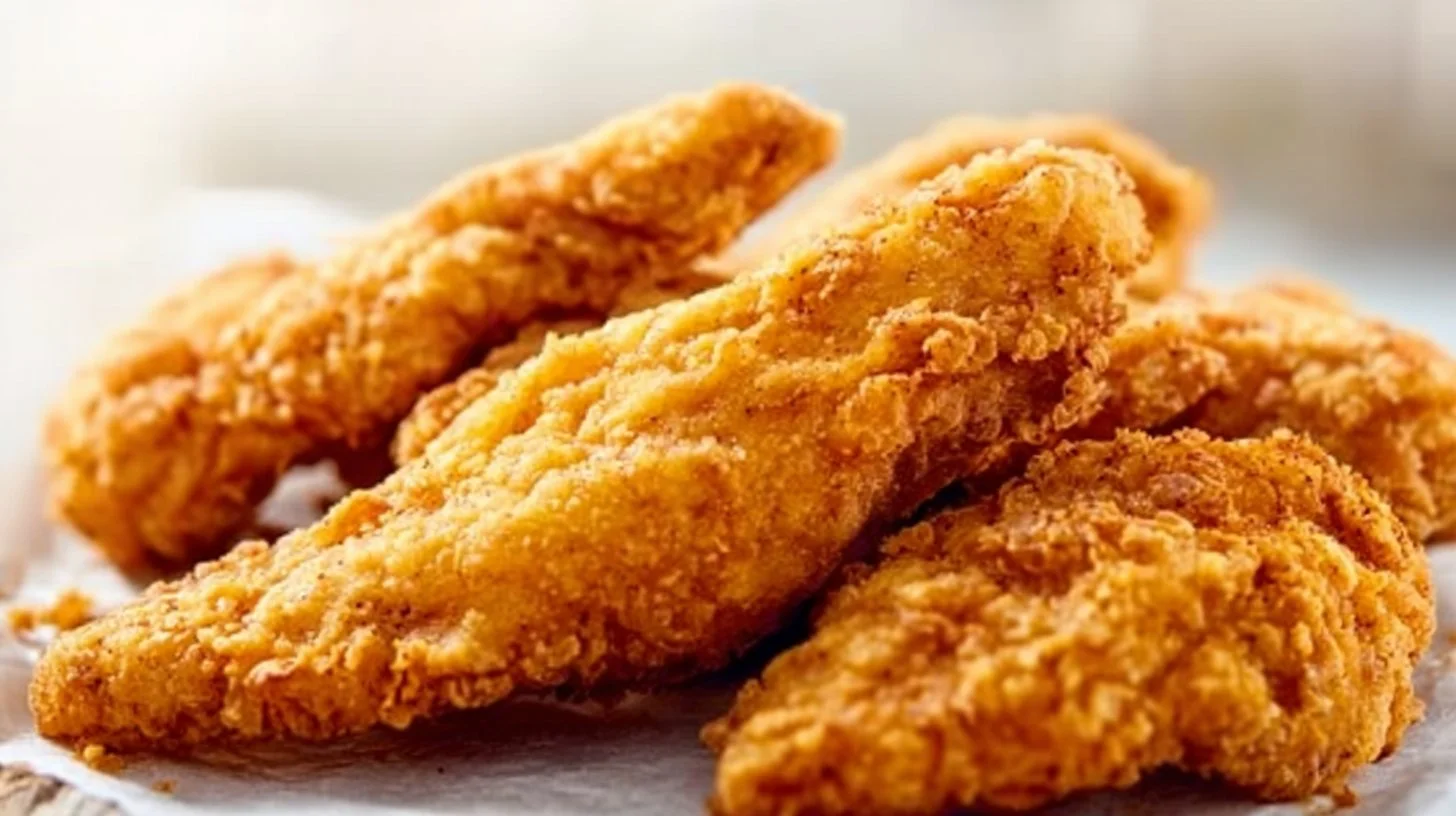
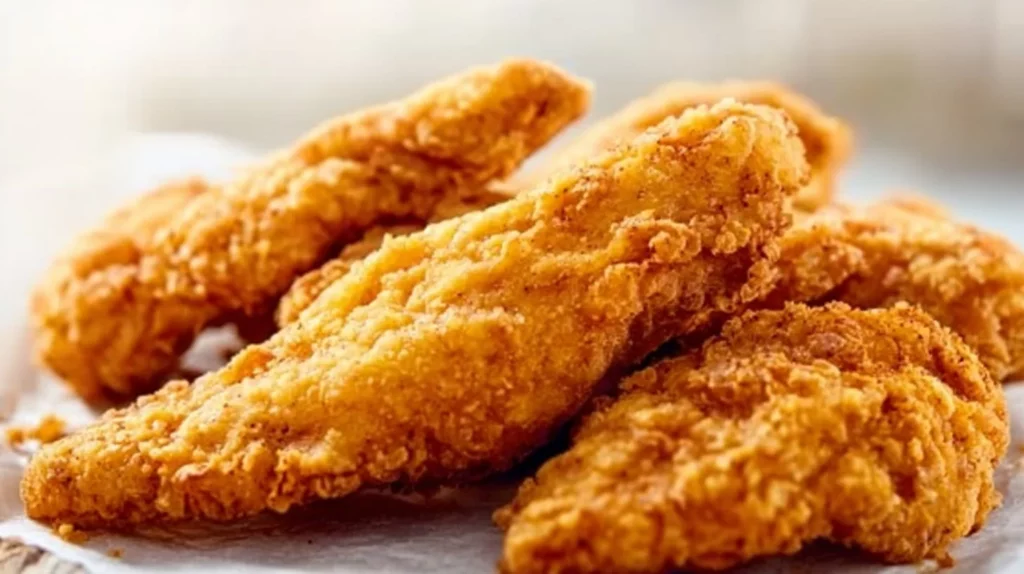
An irresistible crunch awaits you with each bite, giving way to succulent chicken that’s marinated with just the right amount of zing. This dish transforms casual meals into something extraordinary, impressing family and friends alike. Perfect for any gathering or a cozy dinner, it’s all about flavor-packed perfection. What lies ahead is a journey to crispy, golden-brown bliss that promises satisfaction and joy, one tender at a time. Now, let’s dive into creating this delightful experience!
Quick Snapshot: What You’re Getting (In Plain English)
- Time: 30 minutes prep, 15 minutes cooking; Difficulty: Easy; Servings: 4; Best occasion: Game day, potlucks, or family dinners.
- Key flavor notes: Savory seasonings with a mild kick from hot sauce; Freshness from lemon juice; Texture promise: Extra crispy coating on the outside.
The “Why It Works” That Actually Helps You Cook
The magic behind achieving a superbly crisp exterior rests in the two-step coating technique. First, the chicken is submerged in a flavorful marinade, allowing it to absorb moisture and flavor. The combination of flour and spices acts as a shield, ensuring a perfect crunch when fried. Remember to let the coated chicken rest before frying—as this helps the layers adhere better, leading to a more satisfying bite. Controlling the oil temperature is equally vital; frying at 350°F ensures a golden, crispy finish without overcooking the chicken inside.
The Ingredient Lineup (Plus Smart Swaps That Won’t Ruin It)
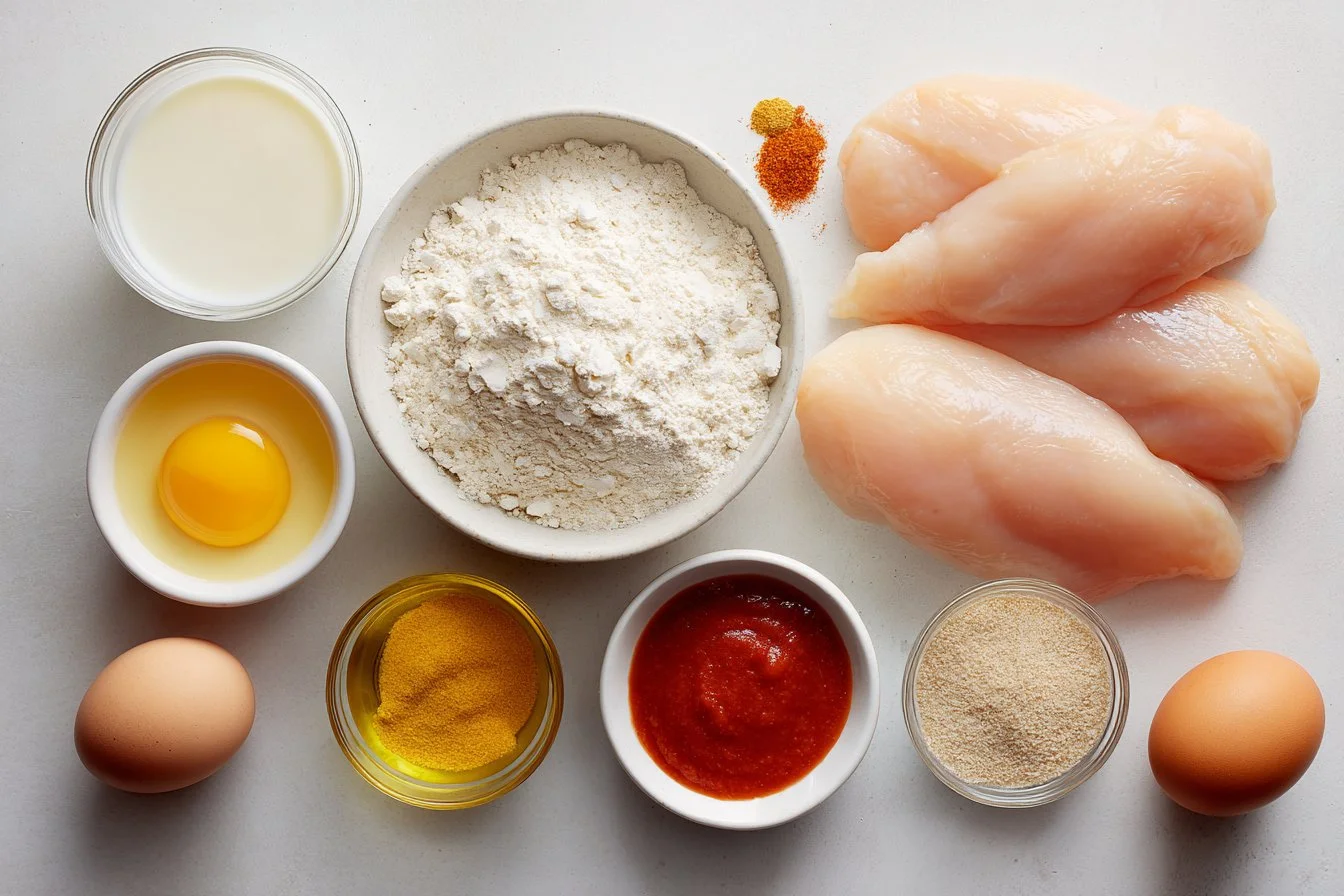
- 4 boneless, skinless chicken breasts
- 1 cup of milk (substitutes: almond milk for dairy-free)
- 2 large eggs, beaten
- 1 tablespoon lemon juice (can use vinegar if needed)
- 1 tablespoon hot sauce, preferably Frank’s Red Hot
- 2 cups flour (for gluten-free, use a blend such as almond flour or gluten-free all-purpose flour)
- 2 1/2 teaspoons salt
- 1 teaspoon garlic powder
- 1 teaspoon paprika
- 3/4 teaspoon pepper
- 1/2 teaspoon baking powder
- Vegetable oil (for frying; consider using canola or peanut oil for higher smoke points)
{image_template}
Do This, Then This: The Foolproof Step-by-Step
- Begin by slicing the chicken breasts into four tenders each, placing them in a bowl with milk, lemon juice, and hot sauce. Let them marinate for 30 minutes to enhance flavor and moisture.
- While the chicken is marinating, set up your breading station: in one bowl, prepare the beaten eggs; in another, mix the flour, salt, garlic powder, paprika, pepper, and baking powder thoroughly.
- Next, take each marinated chicken tender and coat it in the flour mixture, ensuring an even coverage, then dip it into the beaten eggs, and finally coat again with the flour mixture for that double crunch.
- Shake off excess flour gently and place the breaded tenders on a baking sheet, repeating until all pieces are prepared.
- Heat about 2 inches of vegetable oil in a large deep pan over medium-high heat until it reaches 350°F. A light sprinkle of flour in the oil will help indicate when it’s ready; it should sizzle immediately.
- Carefully add the chicken tenders in small batches to avoid overcrowding, frying for 5-7 minutes or until they reach a rich golden-brown color. Remember to flip halfway through for even cooking.
Flavor + Texture: What You Should Notice in Every Bite
As you sink your teeth into each piece, expect a delightful interplay of flavors—the seasoned crust gives an initial burst followed by the juicy, tender meat that’s infused with zesty notes from the marinade. The contrast between the thin, crisp outer layer and the moist chicken inside creates an irresistible mouthfeel. If you prefer a different flavor profile, consider adjusting the spices: add cayenne for more heat or smoked paprika for a smoky depth. The splendid crunch should remain your aim, maintaining that satisfying texture with every bite.
Maximize Crunch: Pro Tips for the Ultimate Coating
Elevate your frying game with a double-dredging technique! Once your chicken tenders are coated, allow them to rest for a few minutes. This step helps the coatings adhere better, promoting that ultra-crispy finish. Another key to achieving perfect crunch is the right oil temperature—350°F is crucial. Use a thermometer for precision; too hot, and they burn; too cool, and they become greasy. Finally, do not overpopulate the frying pan; cook in small batches. A crowded pan lowers the temperature, leading to soggy chicken!
Prep Ahead for Epic Weeknight Meals with a Marinating Tip
Busy weeknights? Try marinating your chicken tenders ahead of time. Simply prepare the chicken in the milk, lemon juice, and hot sauce mixture and refrigerate for up to 24 hours before frying. This not only infuses even more flavor but it also expedites your cooking process when ready to whip up a delicious dinner. Just be sure to take them out of the fridge around 30 minutes before cooking; this allows for even cooking. Result? Juicy, flavor-packed tenders waiting to become the star of your weeknight meal!
Perfectly Stored: How to Keep Your Chicken Crispy for Days
Leftovers don’t have to mean soggy tenders! Store any uneaten pieces in an airtight container after they’ve cooled completely. For the best texture, place a paper towel at the bottom of the container to absorb moisture. When ready to eat, reheat in the oven at 375°F for about 10-15 minutes until heated through, which helps maintain that coveted crunch. If you want to freeze, it’s best to freeze the uncooked, breaded tenders before frying. Thaw overnight in the fridge before frying for a fresh taste anytime!
Common Mistakes (And the Fast Fix for Each One)
- Overcrowding the pan: This leads to uneven cooking; fry in small batches for consistent results.
- Not letting the chicken rest: Skipping this step results in a less crispy coating; allow it a few minutes after coating for better adhesion.
- Wrong oil temperature: Too hot leads to burnt outsides and uncooked insides; use a thermometer to keep it steady at 350°F.
- Skipping the marinating: Not marinating means missing out on flavor; always timeout to marinate well.
- Using wet chicken: Excess moisture will make the coating soggy; pat the chicken dry before breading.
Make It Yours: 6 Variations That Still Keep the Recipe Solid
- Buffalo style: Toss fried tenders in a mixture of melted butter and additional hot sauce for a spicy kick.
- Herb-infused: Mix fresh or dried herbs, like thyme or rosemary, into the flour for a fragrant twist.
- Asian-inspired: Swap paprika with five-spice powder and serve with a sweet chili dipping sauce.
- Parmesan crusted: Add grated Parmesan cheese to the flour mixture for a cheesier flavor.
- Sweet and spicy: Include a dash of brown sugar in the seasoning mix to balance flavors beautifully.
- Mexican flair: Incorporate taco seasoning in the flour mixture for a zesty twist.
Quick Answers Before You Start
Can I make these chicken tenders ahead of time?
Yes! Marinate them for up to 24 hours before cooking, allowing for easier prep during mealtime.
How do I reheat leftovers without losing the crispiness?
Reheat in the oven at 375°F for about 10-15 minutes for optimal crisp texture.
Can these be frozen after frying?
It’s best to freeze them before cooking; breaded but uncooked tenders can be frozen for later frying.
Are there any gluten-free options available?
Absolutely! Use gluten-free flour blends for the coating and ensure your hot sauce is gluten-free as well.
What can I do if my coating isn’t sticking?
Ensure the chicken is thoroughly coated in the marinade and allow it to rest before breading for best adherence.
Can I make these dairy-free?
Yes! Substitute the milk with plant-based options like almond or oat milk, and they’ll still be delicious!
Final Notes (So You Nail It the First Time)
Embrace the crunch, savor the flavor, and enjoy the satisfaction of perfectly cooked chicken tenders that bring joy with each bite. With these tips and tricks, you’re on your way to a winning dish that’s sure to impress. So why wait? Get ready to make this delightful recipe tonight!
Crispy Chicken Tenders
Ingredients
Method
- Slice the chicken breasts into four tenders each and place them in a bowl with milk, lemon juice, and hot sauce. Let them marinate for 30 minutes.
- While the chicken is marinating, set up your breading station: prepare the beaten eggs in one bowl; in another, mix the flour, salt, garlic powder, paprika, pepper, and baking powder thoroughly.
- Take each marinated chicken tender and coat it in the flour mixture, ensuring even coverage, then dip into the beaten eggs, and finally coat again with the flour mixture.
- Shake off excess flour gently and place the breaded tenders on a baking sheet.
- Heat about 2 inches of vegetable oil in a large deep pan over medium-high heat until it reaches 350°F.
- Carefully add the chicken tenders in small batches to the hot oil, frying for 5-7 minutes or until they reach a rich golden-brown color, flipping halfway through for even cooking.