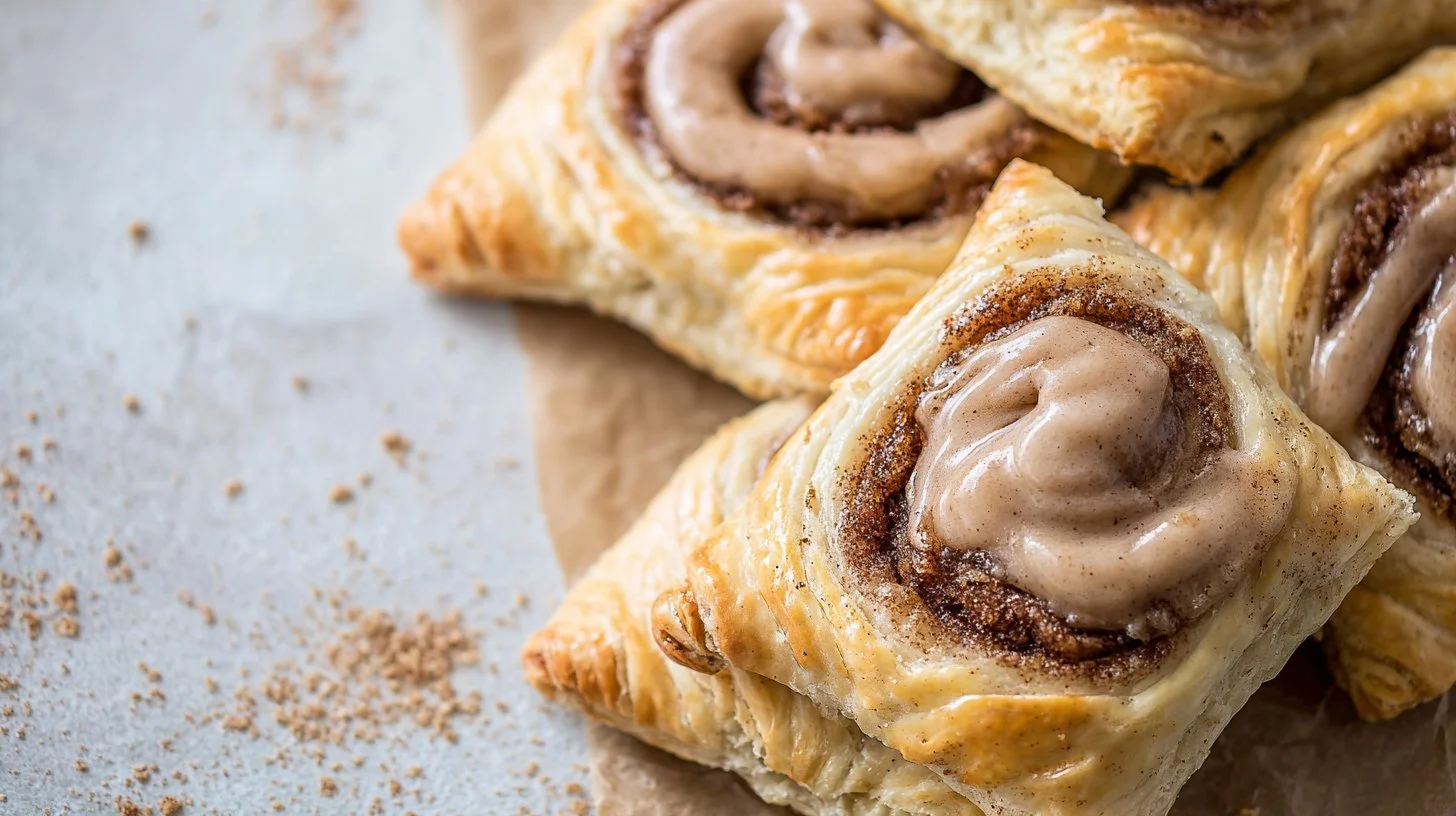
Indulging in delightful pastries as a treat has never been more satisfying. They boast a flaky, buttery crust that crumbles delightfully with every bite, revealing a luscious, sweet cinnamon filling. The warm embrace of cinnamon blends together harmoniously with brown sugar, creating a flavor profile that is both comforting and sophisticated. Whether serving them for breakfast, brunch, or as a classically sweet end to a meal, these pastries promise a melt-in-your-mouth experience. Follow through to discover how easy it is to make these sumptuous delights from scratch, impressing friends, family, or even just your own taste buds.
Quick Snapshot: What You’re Getting (In Plain English)
- Time: About 1 hour 30 minutes | Difficulty: Easy | Servings: 12 | Best Occasion: Brunch or Dessert
- Key flavors: Sweet, warm cinnamon and rich butter; Texture promise: Flaky, tender crust that contrasts with a gooey filling.
The “Why It Works” That Actually Helps You Cook
The methodology here hinges on balance—the fat in the cold butter creates a flaky texture, while the sour cream elevates the richness and moisture. When combined, these elements allow for a tender dough that holds up beautifully to the sweet filling. Chilling the dough ensures that when baked, it puffs beautifully, yielding that perfect texture we all crave. Pay close attention to the pulse of the butter until it’s crumbly; overmixing will lead to a dense pastry instead of the light, airy bite you desire.
The Ingredient Lineup (Plus Smart Swaps That Won’t Ruin It)
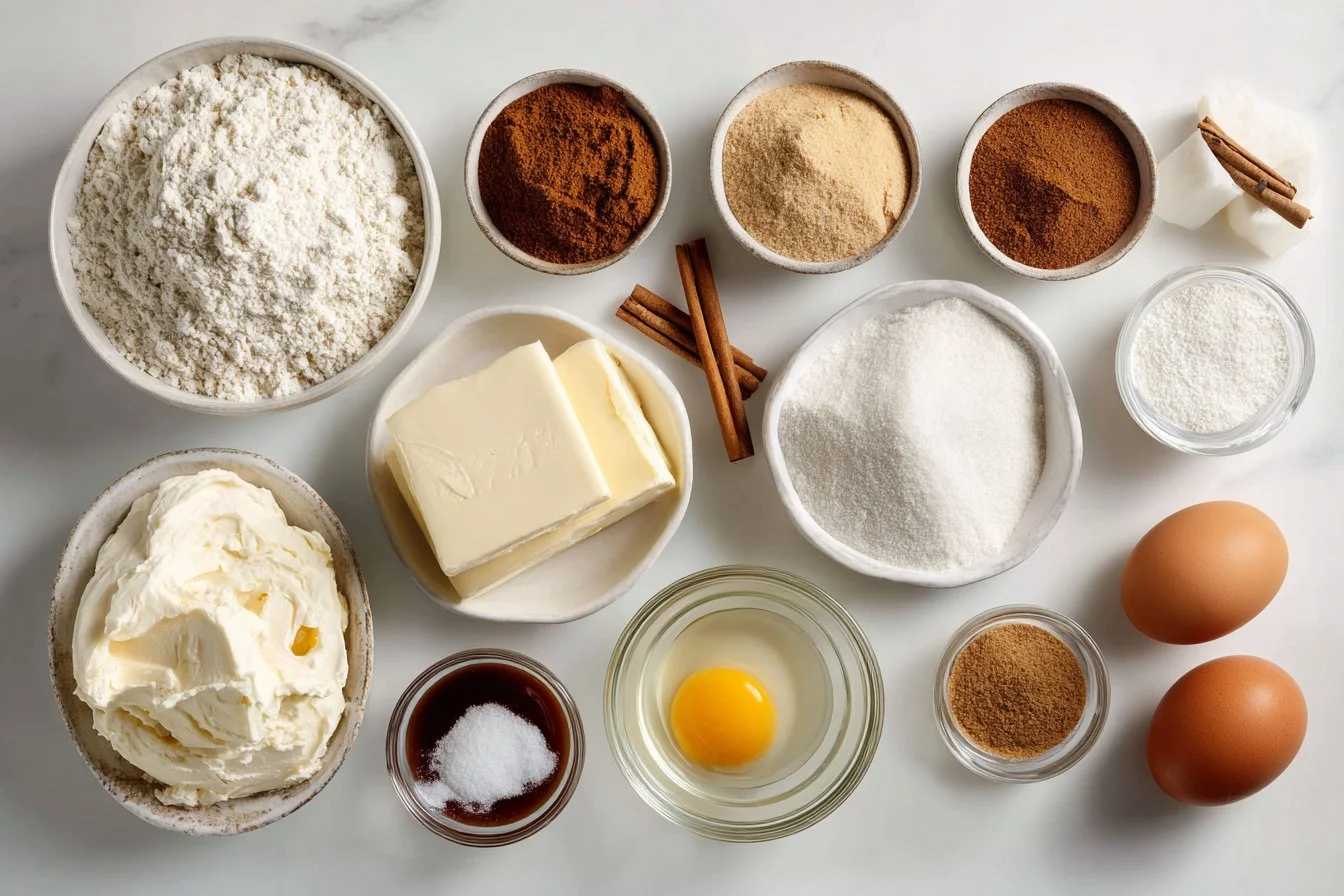
- 2 1/2 cups all-purpose flour
- 1 tablespoon granulated sugar
- 1/2 teaspoon table salt
- 1 cup unsalted butter, very cold, cut into pieces (try using vegan butter for a dairy-free alternative)
- 1/2 cup sour cream (Greek yogurt works well as a substitute)
- 1 cup light brown sugar, firmly packed
- 1 1/2 tablespoons all-purpose flour (for the filling)
- 1 teaspoon ground cinnamon
- 1/4 heaping teaspoon table salt
- 3 tablespoons unsalted butter, melted
- 1/4 teaspoon vanilla extract
- 1 egg & 1 teaspoon water for the wash
- 1 cup powdered sugar
- 2 tablespoons dark brown sugar, firmly packed
- 1-2 tablespoons milk (almond or oat milk for a dairy-free option)
- 1 tablespoon light corn syrup
- 1/2 teaspoon vanilla extract
- 1/8 teaspoon ground cinnamon
{image_template}
Do This, Then This: The Foolproof Step-by-Step
- In a food processor, combine 2 1/2 cups flour, granulated sugar, and salt. Pulse to mix.
- Add the cold butter in pieces, pulsing until the mixture resembles coarse crumbs—about 10-15 pulses.
- Incorporate sour cream into the mixture, pulsing until the dough begins to form. Wrap it into a disk and refrigerate for 30-60 minutes.
- For the filling, mix together the brown sugar, 1 1/2 tablespoons flour, cinnamon, and salt. Stir in melted butter and vanilla to create a thick paste.
- Preheat oven to 400°F (205°C) and prepare a baking sheet with parchment paper.
- Roll out the chilled dough to 1/4 inch thick on a lightly floured surface. Cut into rectangles, about 3×4 inches.
- Brush the edge of one rectangle with egg wash, apply filling in the center, and top with another rectangle. Seal the edges by pressing down and crimping with a fork.
- Bake for 15-17 minutes until golden brown, then allow to cool on a wire rack.
- For icing, whisk together powdered sugar, dark brown sugar, 1 tablespoon milk, corn syrup, 1/2 teaspoon vanilla, and cinnamon until smooth. Drizzle over cooled pastries.
Flavor + Texture: What You Should Notice in Every Bite
Every bite presents a harmonious blend of rich flavors and textures. As you bite through the delicate crust, the crisp exterior gives way to a tender, flaky interior that melts in your mouth. The sweet filling dances with a gentle warmth from the cinnamon, while the brown sugar lends a deep, molasses-like sweetness that envelops your palate. The icing adds a delightful sweetness and a slight creaminess, perfectly counterbalancing the pastry’s buttery notes. Adjust the filling for a more robust cinnamon punch or a hint of nutmeg for a different aromatic dimension.
Get Cozy: Flaky Pastries Ready for a Potluck
If you’re looking for crowd-pleasers, these are perfect for a potluck. Their portable nature allows easy transport, and they maintain a delightful texture even after a few hours. Once baked, allow them to cool completely, then place them in a container layered with parchment paper to avoid sticking. They are excellent warm, but they also shine at room temperature. Adding a sprinkle of nuts for crunch or using different fillings like chocolate or fruit preserves can make them a great choice for varying tastes.
Perfect Your Batch: Make-Ahead Dough for Easy Prep
Prep your dough ahead of time for convenience. After mixing, wrap the formed dough disk tightly in plastic wrap and store it in the fridge for up to two days. Alternatively, freeze it for a month. When ready to bake, thaw overnight in the fridge, and follow the steps as usual. Prepping the filling in advance can also save time; store it in an airtight container in the fridge for up to three days, ensuring that all that delicious flavor continues to develop before assembly.
Foolproof Finish: Avoiding Soggy Pastry Problems
Achieve that prized flaky texture by ensuring the butter stays cold during the mixing process; this is key to great layers. Additionally, avoid overworking the dough to prevent it from becoming tough. If the pastries seem overly wet after baking, brush off excess filling before sealing, which will help maintain that desired crunch. Ensure your egg wash is well mixed and covers the pastry edges properly before sealing; this not only adds shine but helps the edges stick better during baking.
Charming Variations: Mix Up Your Flavors with These Ideas
1. **Almond Delight**: Add almond extract to the filling for a nutty flavor twist.
2. **Berry Blend**: Swap half of the brown sugar for berry jam to create a fruity filling.
3. **Citrus Zest**: Incorporate lemon or orange zest into the crust or icing for a refreshing note.
4. **Spicy Kick**: Add a pinch of nutmeg or cardamom as an extra spice boost to the filling.
5. **Savory Twist**: Use feta or goat cheese instead of sweet filling for a savory pastry.
6. **Health-Forward**: Replace half of the all-purpose flour with whole wheat flour for a heartier texture.
Quick Answers Before You Start
Can I make these pastries ahead of time?
Absolutely! The dough can be prepared and refrigerated or frozen for convenience. Just plan to roll it out and bake on the day you want to serve.
Can these pastries be frozen?
Yes, they freeze beautifully. Freeze them prior to baking on a parchment-lined sheet, then transfer to an airtight container after they’re frozen. Bake directly from the freezer, adding a couple of minutes to the baking time.
What’s the best way to ensure they’re kid-friendly?
Use less cinnamon in the filling and add a hint of vanilla extract to sweeten the taste for little palates, or fill with chocolate for an instant favorite.
Are there gluten-free options available for this recipe?
Yes! Replace all-purpose flour with a 1:1 gluten-free flour blend. Make sure it contains xanthan gum for the best texture.
How can I adjust the sweetness of the filling?
It’s easily adjustable! Reduce the brown sugar in the filling to lessen sweetness. Alternatively, you can mix in tangy cranberry or tart cherry jam for a flavorful balance.
What are common mistakes to avoid?
Overmixing the dough can lead to a tough result. Also, ensure all your ingredients, especially fat, are cold to achieve that light, flaky texture.
Final Notes (So You Nail It the First Time)
Prepare to impress with your pastry-making prowess! These easy-to-follow steps will help you create a delightful treat that brings smiles all around. Get started and let the aroma of freshly baked goodness fill your kitchen—save this recipe and make it tonight!