
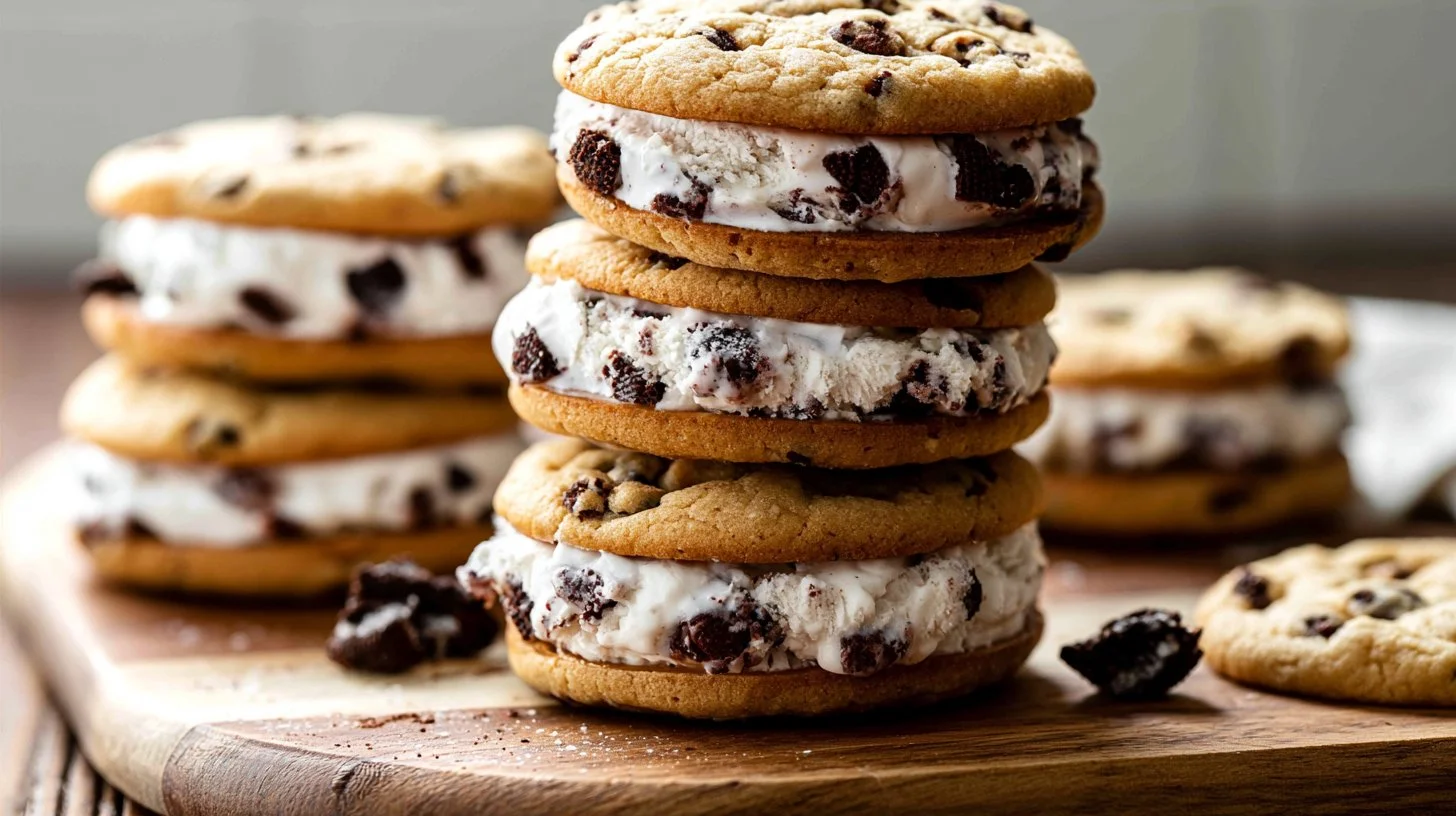
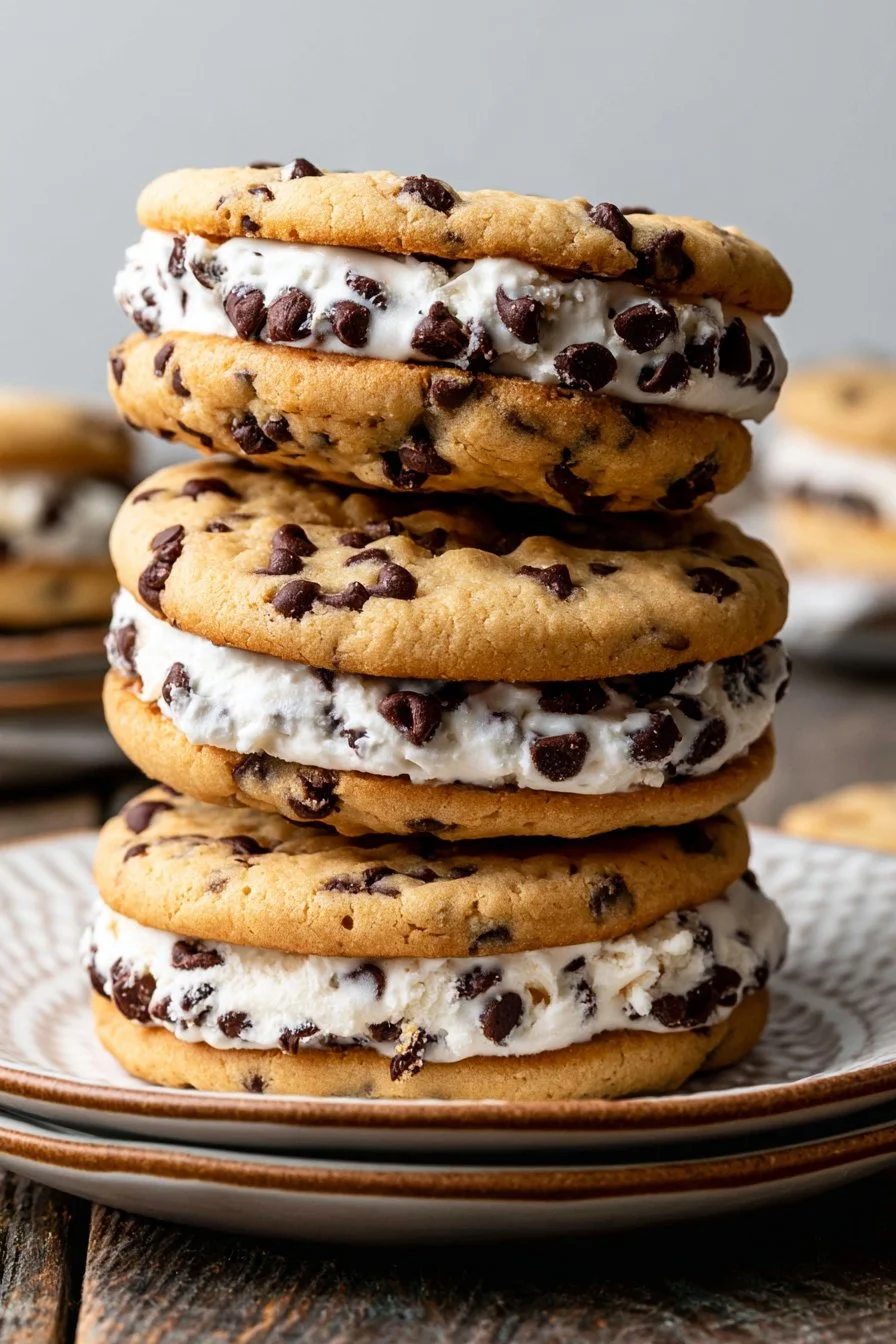
Cookie Ice Cream Sandwiches are the ultimate treat that brings the nostalgia of summer fairs and ice cream trucks right into your kitchen. Imagine the crisp, buttery goodness of freshly baked cookies, stuffed with your favorite ice cream flavor, creating a delightful dessert that’s as fun to make as it is to eat. These sandwiches, reminiscent of a classic Chipwich, are the perfect way to indulge and cool down during warmer months, making them a delightful choice for parties, BBQs, or even just a cozy night in with family. After all, who wouldn’t love the joy of biting into a perfect ice cream sandwich, with the creamy filling spilling out slightly as you take your first bite?
Whether you’re looking for a sweet surprise to bring to a friends’ gathering or a special treat to enjoy on a hot day, these Cookie Ice Cream Sandwiches will leave everyone smiling. They offer a harmonious blend of textures—from the chewy cookies to the creamy ice cream—creating a mouthwatering experience that is simply irresistible. Now let’s dive into this deliciously fun recipe!
Why You’ll Love This Recipe
- Simplicity: With straightforward ingredients and an easy-to-follow process, these sandwich cookies are simple enough for bakers of all skill levels.
- Customizable: You can choose any flavor of ice cream and mix-ins according to your taste preferences, making each batch unique.
- Fun for All Ages: Perfect for family activities, kids can help scoop the ice cream and roll the sides in toppings.
- Make Ahead: These treats can be prepared in advance and stored in the freezer, making them a convenient dessert option.
- Perfect for Any Occasion: Whether it’s a birthday party, an afternoon snack, or just because, they’re the perfect treat to serve or enjoy any time.
What Makes This Recipe Special
The blend of flavors in these Cookie Ice Cream Sandwiches makes them stand out. Using high-quality ingredients like gooey mini semi-sweet chocolate chips and creamy vanilla ice cream adds depth and deliciousness. The combination of brown sugar and granulated sugar in the cookie dough results in a perfect balance of chewy and crispy textures. The addition of cornstarch also contributes to the cookies’ tender crumb, making them the ideal vessel for the sumptuous ice cream. Use your favorite ice cream flavor for filling to personalize each sandwich, making it a treat that everyone will adore.
Ingredients
- 2 and 1/4 cups (281g) all-purpose flour (spooned & leveled)
- 1 and 1/2 teaspoons cornstarch
- 1 teaspoon baking soda
- 1/2 teaspoon salt
- 3/4 cup (12 Tablespoons; 170g) unsalted butter, softened to room temperature
- 3/4 cup (150g) packed light or dark brown sugar
- 1/2 cup (100g) granulated sugar
- 1 large egg + 1 egg yolk, at room temperature
- 2 teaspoons pure vanilla extract
- 1 and 1/4 cups (225g) mini semi-sweet chocolate chips
- 3 cups (about 540g) vanilla ice cream (or your desired flavor)
- 1 cup mini chocolate chips (180g)
- Sprinkles (150g) or finely chopped nuts (100g)
This recipe celebrates classic ingredients that you likely already have in your pantry. Feel free to swap out the mini chocolate chips for white chocolate or even incorporate chopped candies or nuts for added texture.
Ingredient Notes and Easy Substitutions
- Butter: For best results, always use unsalted butter to control the saltiness of your cookies.
- Ice Cream Variations: Experiment with different flavors such as mint chocolate chip, cookies and cream, or fruit-flavored ice creams for a refreshing twist.
- Toppings: Try incorporating crushed cookies, shredded coconut, or even candy-coated chocolates for kids’ parties to make the sandwiches more festive.
- Egg Free: Substitute the egg with a flaxseed meal or commercial egg replacer for a vegan-friendly option.
Instructions
- Preheat oven to 350°F (177°C). Line 3 large baking sheets with parchment paper or silicone baking mats. If you don’t have 3 baking sheets, no worries; you can bake the cookies in batches.
- In a medium bowl, whisk together the flour, cornstarch, baking soda, and salt.
- In a large bowl, using a handheld or stand mixer fitted with a paddle attachment, beat the softened butter, brown sugar, and granulated sugar together on medium-high speed until the mixture is creamy and combined, about 3 minutes. (Here’s a helpful tutorial if this is your first time).
- Add the egg, egg yolk, and vanilla extract to the butter mixture and beat on medium-high speed until well incorporated. Scrape down the sides of the bowl as needed.
- Gradually mix in the dry ingredients using low speed until combined. Once combined, fold in the mini chocolate chips until evenly distributed. The dough will be soft and somewhat sticky.
- Using a cookie scoop (about 1.5 tablespoons of dough per cookie), scoop the cookie dough onto the prepared baking sheets, spacing them about 3 inches apart.
- Bake for 12-13 minutes or until they are lightly browned on the edges. The centers will still look soft and underbaked.
- Once baked, allow the cookies to cool on the baking sheet for 5 minutes. If desired, while the cookies are still warm, gently press extra mini chocolate chips into the tops for a decorative touch.
- Transfer each cookie to a wire rack to cool completely.
- Once the cookies are completely cool, flip one cookie over and place a generous scoop of ice cream (about 1/4 cup or 45g) onto it. Use your scoop to spread the ice cream to the edges.
- Gently sandwich another cookie on top, and press gently together in the center to form a cohesive sandwich.
- Roll the sides into mini chocolate chips, sprinkles, or nuts as desired. If you aren’t enjoying the sandwiches right away, wrap each one in plastic wrap or parchment paper to prevent melting, then place them in the freezer.
- Freeze assembled sandwiches for at least 3 hours, and they can last up to 3 months in the freezer.
Expert Tips for the Best Results
- Ensure your butter is perfectly softened for easy creaming; it should be just soft enough to make an indentation when pressed slightly.
- For optimal texture, avoid overbaking your cookies. Pull them out while they still seem slightly underbaked in the center; they can continue to bake on the sheet while cooling.
- If you’d like to add even more depth of flavor, consider sprinkling a little sea salt on top of the cookies before they bake.
Variations
- Ice Cream Pie: Use a layer of cookie sandwiches in a pie dish as a crust and layer with syrup and whipped cream for a cookie ice cream pie.
- Nutty Delight: Incorporate crushed nuts into the cookie dough or sprinkle them on the ice cream for a lovely crunch.
- Brownie Base: Substitute the cookie layer for brownie layers for an even richer flavor.
- Fruity Twist: Use fruit-flavored ice creams like strawberry or peach and pair them with oatmeal cookies for a fruity treat.
- Seasonal Flavors: Change up the ice cream flavor to match the seasons, such as peppermint in winter or pumpkin in fall.
Serving Suggestions
These Cookie Ice Cream Sandwiches are delightful on their own, but you can elevate the experience by serving them with a drizzle of chocolate or caramel sauce. Pair them with a cold glass of milk or a refreshing iced coffee to enhance the indulgence. They also make for a delightful dessert alongside a ripe berry salad or fruit compote for a touch of freshness.
Storage and Reheating
Store any leftover Cookie Ice Cream Sandwiches in an airtight container in the freezer. They will keep well for up to 3 months. If you’d like to serve them warm, simply take them out of the freezer, let them sit for a few minutes to soften slightly, and enjoy. However, these sandwiches are best served cold to maintain their delightful structure.
Common Mistakes to Avoid
- Overmixing the Dough: Once the dry ingredients are finished mixing, stop right there! Overmixing can lead to toughness in the cookies.
- Using Cold Butter: Cold butter does not cream well with sugar, leading to uneven texture and spreading during baking.
- Not Chilling the Dough: While not required, a quick chill of the dough can help with shaping the cookies and prevent excessive spreading.
FAQ
Can I make these Cookie Ice Cream Sandwiches ahead of time?
Absolutely! You can prepare the cookies and freeze them for up to 3 months. Assemble the sandwiches right before serving for the best texture.
What ice cream flavors work best?
You can use any ice cream flavor you enjoy! Vanilla is a classic choice, but strawberry, cookies and cream, or even mint chocolate chip can be wonderful alternatives.
How do I prevent the ice cream from melting too quickly?
Wrap assembled cookies in plastic wrap or parchment paper and freeze them until you’re ready to serve. This keeps them compact and prevents melting.
Can I use gluten-free flour?
Yes, a 1:1 gluten-free all-purpose flour blend should work well in this recipe if you prefer a gluten-free option.
What if I don’t have mini chocolate chips?
You can chop regular chocolate chips or chocolate bars into small pieces as a substitute.
How do I ensure my cookies are chewy?
Be careful not to overbake the cookies. Pull them from the oven when the edges are set, but the centers are still soft.
Conclusion
Indulging in these delicious Cookie Ice Cream Sandwiches is not just about satisfying your sweet tooth; it’s about creating joyful moments filled with laughter and delight. Their blend of chewy cookies and creamy ice cream offers a delightful contrast that will leave you craving more. Whether you enjoy them on a sunny afternoon or surprise guests with a homemade treat, this recipe is a must-try! So gather your loved ones, get baking, and watch as these irresistible sandwiches become a new family favorite. Don’t forget to save this recipe for later—it’s sure to become a cherished tradition in years to come!
Cookie Ice Cream Sandwiches
Ingredients
Method
- Preheat oven to 350°F (177°C). Line 3 baking sheets with parchment paper.
- In a medium bowl, whisk together flour, cornstarch, baking soda, and salt.
- In a large bowl, beat together softened butter, brown sugar, and granulated sugar until creamy.
- Add the egg, egg yolk, and vanilla extract to the butter mixture and mix until incorporated.
- Gradually mix in the dry ingredients until combined, then fold in mini chocolate chips.
- Using a cookie scoop, place dough onto baking sheets, leaving space between each cookie.
- Bake for 12-13 minutes until lightly browned at the edges. Centers should be soft.
- Allow cookies to cool for 5 minutes before transferring them to a wire rack.
- Once cookies are cool, scoop about 1/4 cup of ice cream onto the flat side of one cookie.
- Place another cookie on top and gently press together to form a sandwich.
- Roll the sides of the sandwiches in mini chocolate chips, sprinkles, or nuts.
- Wrap each sandwich in plastic wrap and freeze for at least 3 hours.