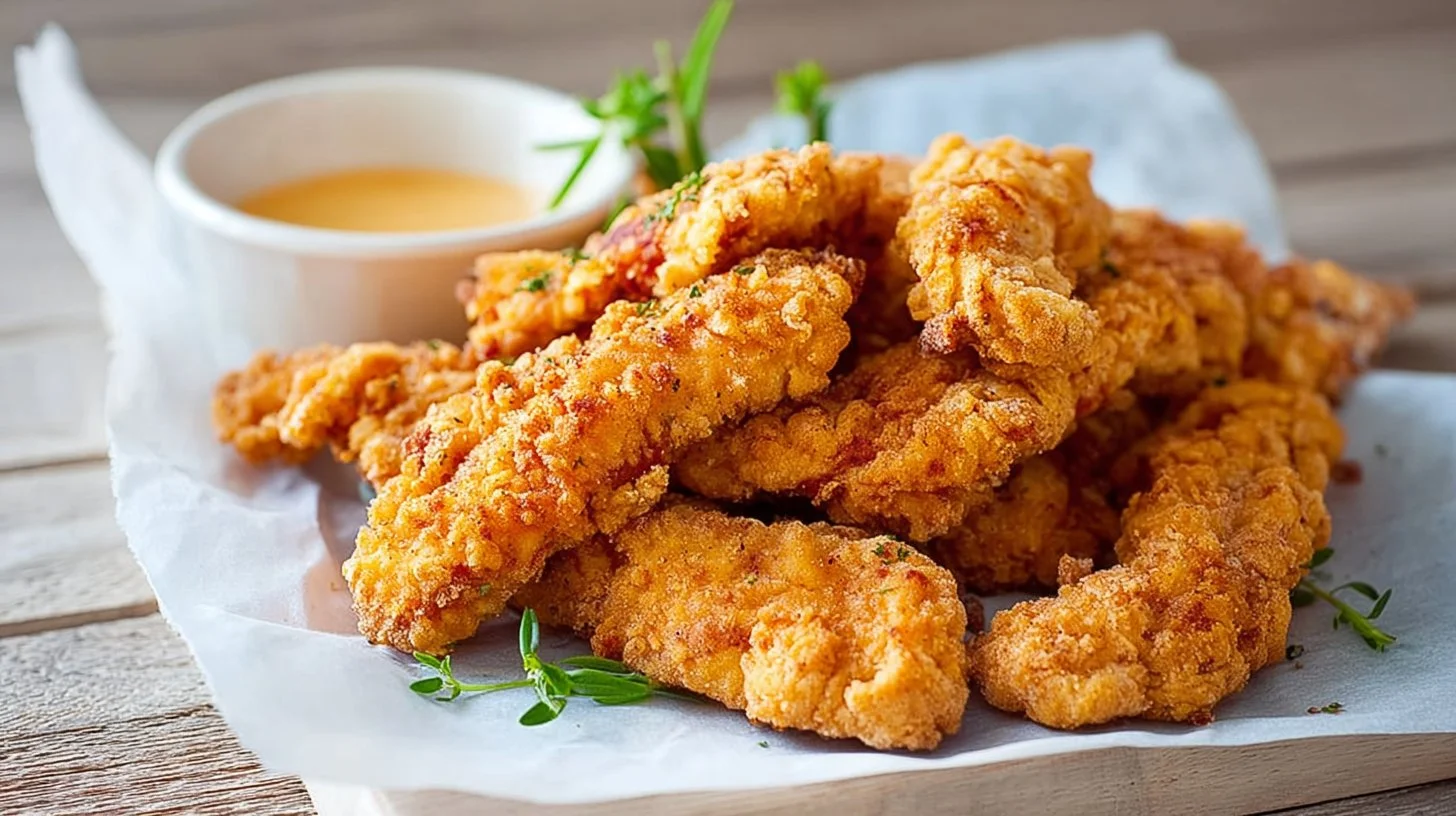
Fried chicken tenders are more than just a meal; they’re a beloved comfort food that speaks volumes about nostalgia, family gatherings, and simple pleasures. There’s something incredibly satisfying about biting into golden-brown crispy chicken that is moist and tender on the inside. Whether you’re whipping them up for a Friday night treat, game day snacks, or a casual family dinner, these fried chicken tenders promise to bring warmth and joy to your table. With a delightfully crispy outer layer and juicy, flavorful chicken within, they offer a perfect combination of texture and taste that will have everyone coming back for seconds. Let’s dive into this delightful recipe!
Why You’ll Love This Recipe
- Simplicity: With just a handful of everyday ingredients, these fried chicken tenders are easy to whip up, making them perfect for both novice and seasoned cooks.
- Flavorful: The simple seasoning of salt and pepper allows the natural flavors of the chicken to shine, while the double coating creates a satisfying crunch.
- Family-Friendly: Kids and adults alike adore crispy chicken tenders, making them a surefire hit at any meal. They’re perfect for picky eaters!
- Versatile: Enjoy them as a main course, in wraps, or alongside a fresh salad. They can be customized with your favorite dipping sauces or seasonings.
- Make-Ahead Potential: These tenders can be prepared in advance and kept in the fridge, making weeknight dinners a breeze or perfect for meal prep.
- Crispy Goodness: The double-dredging process gives these tenders a mouth-watering crunch that’s hard to resist.
What Makes This Recipe Special
What sets this fried chicken tenders recipe apart is the simplicity of the preparation combined with the authentic home-cooked taste. The fresh chicken tenders, combined with a seasoned flour coating and a light egg wash, ensures a crispy and satisfying bite every time. The exterior is incredibly crunchy, thanks to the flour coating, while the chicken inside remains juicy and succulent. This recipe doesn’t require complicated techniques or ingredients, making it a practical choice for anyone looking to impress family and friends.
Ingredients
- 1-2 pounds chicken tenders or 2 large boneless skinless chicken breasts sliced into 1-inch thick strips
- 1 1/2 cups all-purpose flour
- 3/4 teaspoon salt
- 1/2 teaspoon black pepper
- 1 egg, beaten with 2 tablespoons water
- Vegetable oil for frying
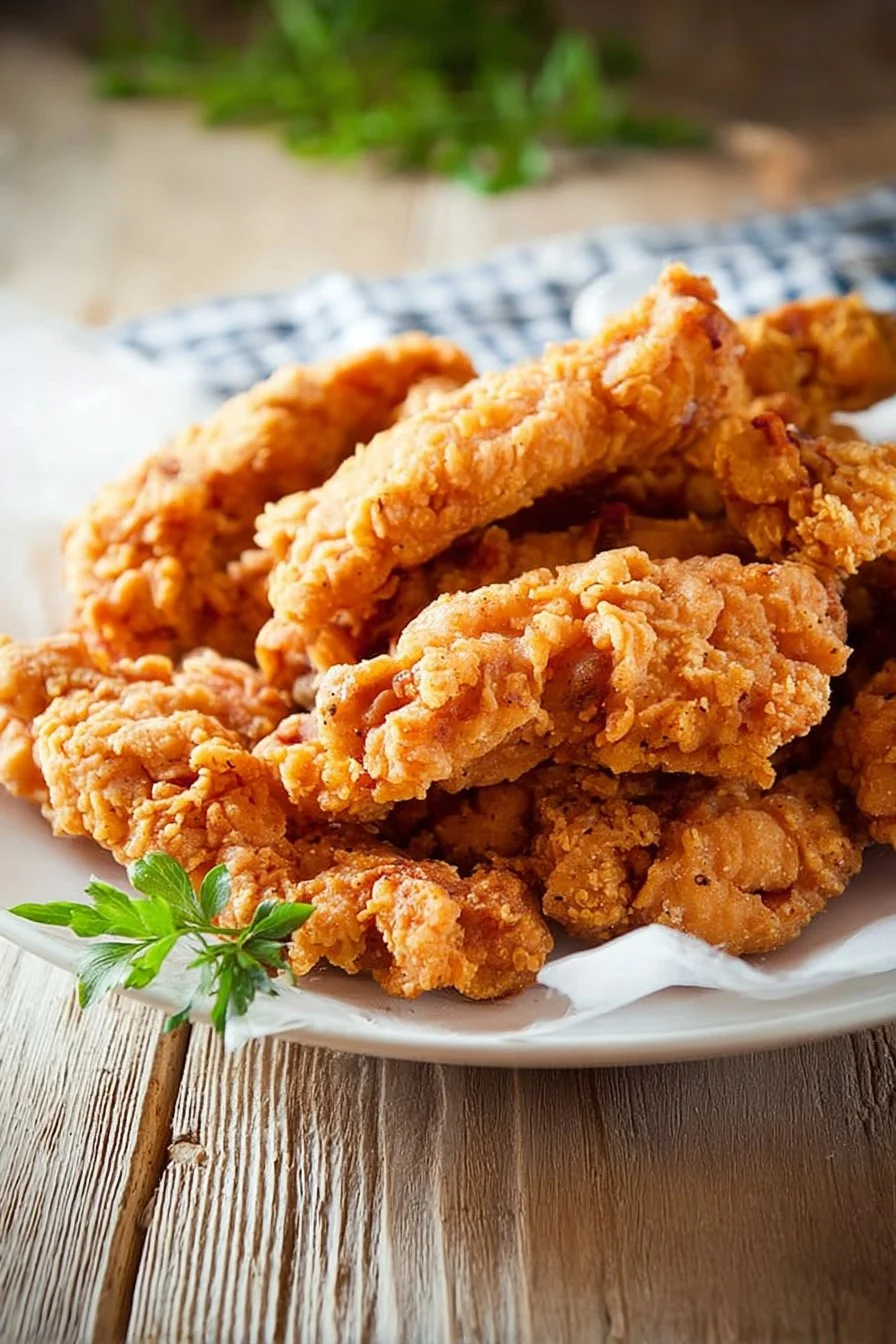
Ingredient Notes and Easy Substitutions
- Chicken: Chicken tenders are preferred for their tenderness and quick cooking time. You can also use chicken breasts, but be sure to slice them evenly for consistent cooking.
- All-Purpose Flour: This is the best choice for creating a crisp coating. Alternatively, you could use gluten-free flour for a gluten-free version.
- Seasoning: Adjust the salt and pepper to your taste; you could also add garlic powder, paprika, or cayenne for an extra flavor kick.
- Oil: Vegetable oil is ideal for frying, but canola or peanut oil will work well too for their high smoke points.
Instructions
- Heat the Oil: Fill a 9-inch cast iron or standard skillet with about 2 inches of vegetable oil. Heat it over medium-high heat until it reaches around 365-375 degrees Fahrenheit. This is crucial for getting that golden crust!
- Mix the Dry Ingredients: In a large bowl, combine the all-purpose flour, salt, and black pepper thoroughly.
- Prepare the Egg Wash: In another bowl, beat the egg together with the two tablespoons of water to create a smooth egg wash.
- Coat the Chicken: Dredge each chicken strip in the seasoned flour, ensuring it is well-coated. Next, dip it in the egg wash, allowing any excess to drip off, and then return it to the flour for a second coating. This double-dredging is what results in extra crispy tenders!
- Let Rest: Allow the coated chicken to rest for about 5 minutes. This helps the coating adhere better while frying.
- Fry the Chicken: Carefully place the chicken tenders into the hot oil in batches, avoiding overcrowding. Fry for about 8 to 10 minutes or until golden brown on each side. Use tongs to turn them halfway for even cooking.
- Drain and Season: Once cooked, transfer the fried chicken tenders to a paper towel-lined plate and sprinkle with more salt if needed, allowing them to drain excess oil.
Expert Tips for the Best Results
- Check Oil Temperature: Use a kitchen thermometer to ensure the oil is at the right temperature. If it’s too low, the tenders can become greasy; if too high, they may cook too fast on the outside without cooking through.
- Fry in Batches: Don’t overcrowd the pan. Frying in smaller batches ensures that the oil temperature stays consistent and the tenders fry evenly.
- For Even Crispiness: Once fried, let them sit for a couple of minutes before serving. This helps maintain that crunch!
Variations
- Buffalo Chicken Tenders: After frying, toss them in your favorite buffalo sauce for a spicy twist.
- Parmesan Crusted: Add grated Parmesan cheese to the flour mixture for added flavor and a cheesy crunch.
- Herbed Coating: Add dried herbs like thyme, oregano, or basil to the flour for an aromatic flavor.
- Coconut Chicken Tenders: Replace some of the flour with shredded coconut for a tropical flair.
- Baked Alternative: For a healthier take, coat the chicken as instructed, then bake at 425°F for 20-25 minutes until golden.
Serving Suggestions
Fried chicken tenders shine on their own or paired with various sides. Serve alongside classic coleslaw, french fries, or a fresh green salad for a well-rounded meal. For dipping, you can’t go wrong with ranch dressing, honey mustard, or classic BBQ sauce. To elevate the meal, consider a refreshing lemonade or sweet tea on the side.
Storage and Reheating
Store any leftovers in an airtight container in the fridge for up to 3 days. To keep them crispy, reheat them in the oven at 350°F for about 10-15 minutes, placing them on a wire rack to allow airflow around them. This helps maintain their crunchiness!
Common Mistakes to Avoid
- Skipping the Rest Time: Allowing the coated chicken to rest is essential for the breading to adhere and for achieving the perfect crunch.
- Not Checking the Oil Temperature: Always ensure the oil is hot enough before frying; this is critical for achieving the desired texture.
- Using Too Much Oil: While you need enough oil for frying, too much can lead to splattering and uneven cooking. Aim for about 2 inches in the pan.
FAQ
1. Can I use frozen chicken for this recipe?
- Yes, but thaw it completely before frying. Frozen chicken will lower the oil temperature and lead to soggy tenders.
2. How do I make these chicken tenders spicier?
- Add some cayenne pepper to the flour mixture or toss the fried tenders in your favorite hot sauce.
3. What dipping sauces pair well with fried chicken tenders?
- Popular choices include ranch dressing, honey mustard, barbecue sauce, or buffalo sauce.
4. Is it possible to freeze the fried chicken tenders?
- Yes, you can freeze cooked tenders in an airtight container or freezer bag for up to 3 months. Reheat them directly from frozen.
5. Can I bake chicken tenders instead of frying them?
- Yes! Coat and prepare them as directed and bake in a preheated oven at 425°F for a healthier option.
6. What can I serve with fried chicken tenders?
- Think of sides like mashed potatoes, mac and cheese, garden salads, or corn on the cob for a hearty meal.
Conclusion
Fried chicken tenders are an irresistible dish that everyone will love. Their crispy exterior coupled with juicy chicken makes them a perfect meal or snack. Whether you’re entertaining guests or enjoying a cozy night in, this recipe is sure to satisfy. So gather your ingredients and experience the joy of homemade fried chicken tenders that will become a family favorite. Share your creations on Pinterest and inspire others to indulge in this scrumptious dish! Happy frying!
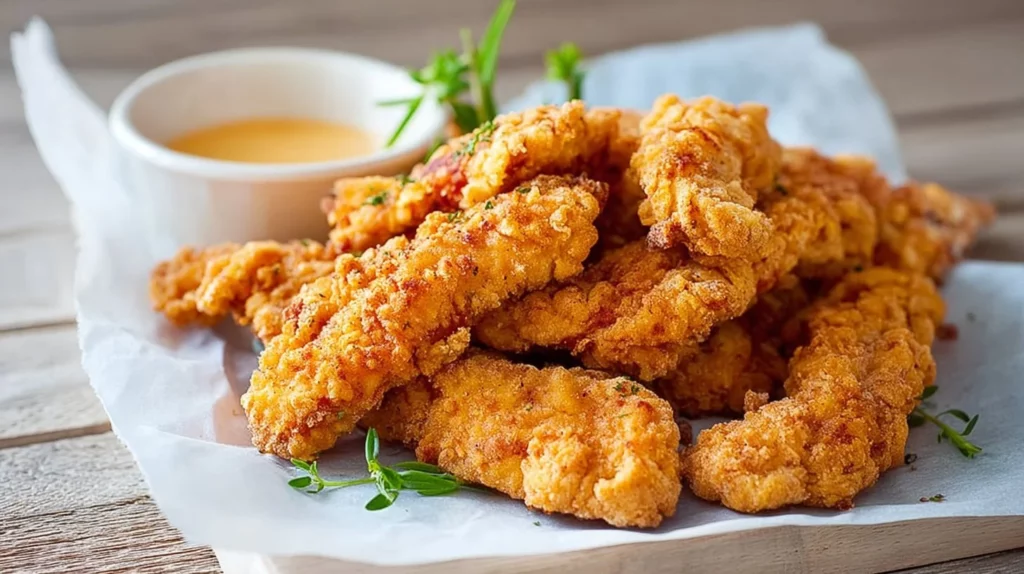
Fried Chicken Tenders
Ingredients
Method
- Fill a 9-inch cast iron or standard skillet with about 2 inches of vegetable oil. Heat it over medium-high heat until it reaches around 365-375 degrees Fahrenheit.
- In a large bowl, combine the all-purpose flour, salt, and black pepper thoroughly.
- In another bowl, beat the egg together with the two tablespoons of water to create a smooth egg wash.
- Dredge each chicken strip in the seasoned flour, ensuring it is well-coated. Next, dip it in the egg wash and then return it to the flour for a second coating.
- Allow the coated chicken to rest for about 5 minutes.
- Carefully place the chicken tenders into the hot oil in batches, avoiding overcrowding. Fry for about 8 to 10 minutes or until golden brown on each side.
- Once cooked, transfer the fried chicken tenders to a paper towel-lined plate and sprinkle with more salt if needed.