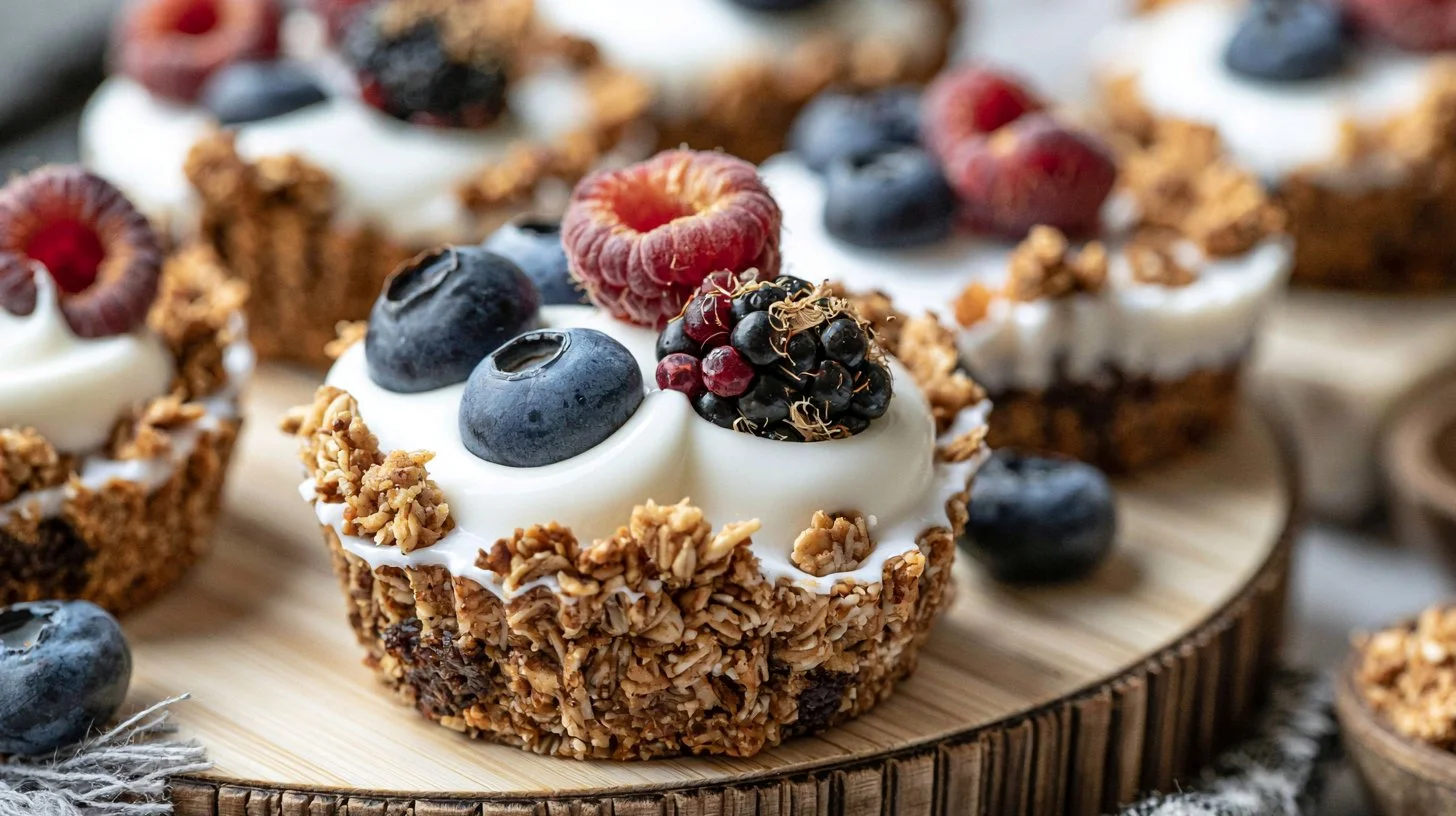
No Bake Granola Cups with Yogurt are the ultimate solution for those busy mornings when you crave both convenience and nutrition. These delightful little cups combine the wholesome goodness of oats, the creamy richness of peanut butter, and the natural sweetness of bananas—all topped with creamy yogurt and fresh berries. Perfect for breakfast, an afternoon snack, or a portable treat for picnics, these granola cups strike a beautiful balance between healthy and satisfying. The best part? They require no baking at all, making them easy to whip up ahead of time and grab on the go!
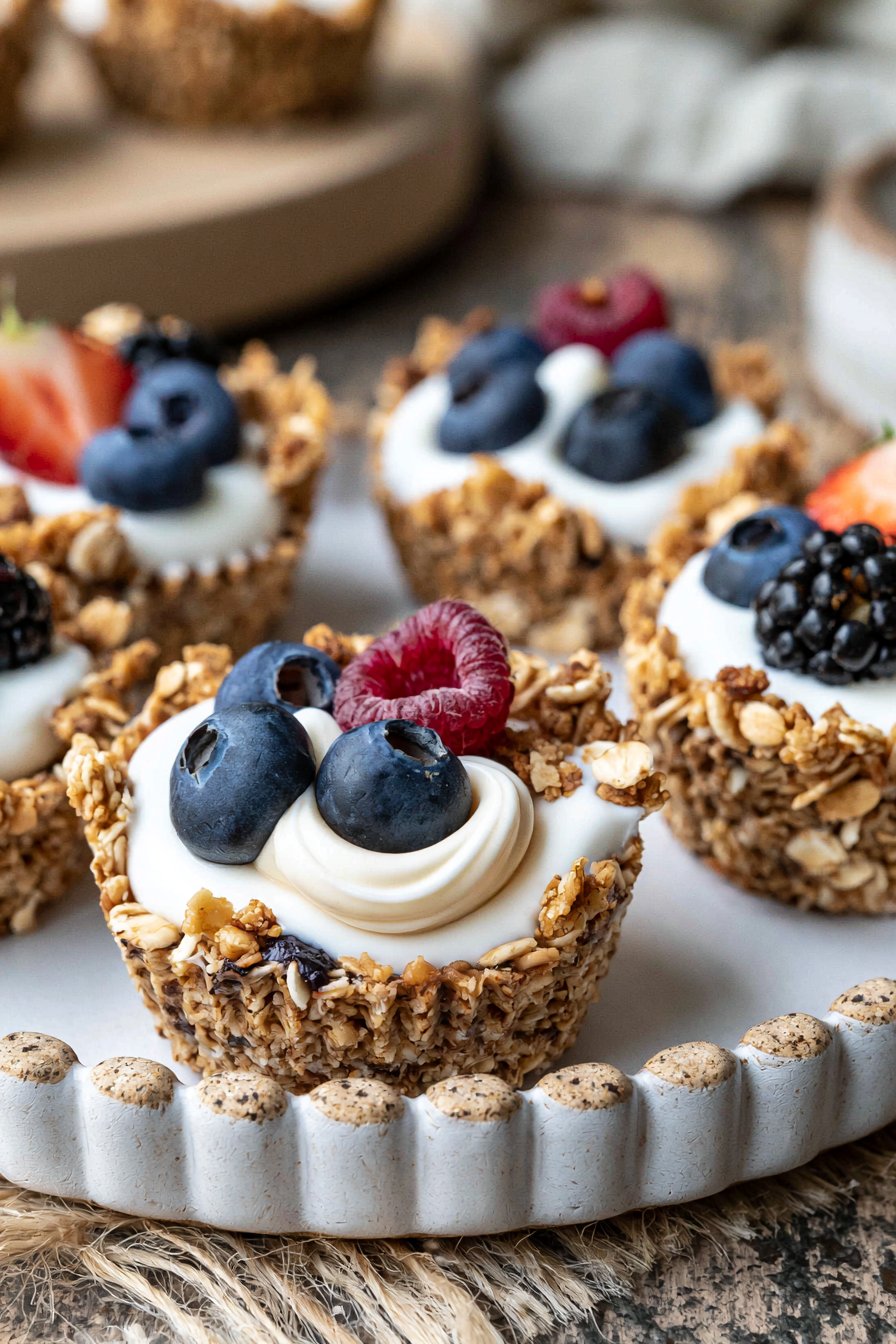
Imagine taking a bite out of a crunchy granola cup, filled with luscious yogurt and bursting with juicy berries. The texture is a wonderful contrast, with the crispy outer layer giving way to creamy goodness inside. Not only are these cups flavorful and fun, but they also make for a beautiful presentation. Whether you serve them at a brunch gathering or enjoy them solo, No Bake Granola Cups with Yogurt are sure to impress.
Why You’ll Love This Recipe
- Quick and Easy: These granola cups come together in less than 30 minutes and require no baking, making them perfect for weeknight or weekend prep.
- Healthy Ingredients: With rolled oats, bananas, and yogurt, these cups are packed with fiber, protein, and nutrients to fuel your day.
- Versatile: Customize the toppings to your preference! Use various fruits, nut butters, or even add a sprinkle of chocolate for a decadent touch.
- Perfect for Meal Prep: Make a batch on Sunday, and you have breakfast or snacks sorted for the week!
- Kid-Friendly: Kids love hands-on snacks! Involve them in the process, and they’ll enjoy eating their creations.
- Gluten-Free Option: Just opt for gluten-free oats and you’re all set for a wholesome treat that everyone can enjoy.
What Makes This Recipe Special
This recipe shines because of its simplicity and the nutritious ingredients that blend together perfectly. The combination of rolled oats and bananas creates a chewy base that’s both satisfying and energizing. Peanut butter offers a creamy texture while also delivering healthy fats and protein, making these cups a filling snack that curbs hunger. A touch of maple syrup sweetens the mix just right, and the chia seeds add an interesting texture as well as a boost of omega-3 fatty acids. Topped with Greek yogurt, whether dairy or non-dairy, and a handful of fresh berries, these granola cups are a wholesome and delicious treat that everyone will love.
Ingredients
- 2 cups rolled oats (certified gluten-free if needed)
- 1 cup peanut butter (smooth or crunchy, your choice)
- 2 bananas (mashed, about 1 cup)
- 1 tablespoon maple syrup (or agave or honey)
- 1 tablespoon chia seeds
- 1 teaspoon ground cinnamon
- 1/2 teaspoon salt
- 1 1/2 cups Greek yogurt (dairy or non-dairy)
- 1/2 cup fresh berries (such as strawberries, blueberries, or raspberries)
Ingredient Notes and Easy Substitutions
- Rolled Oats: Use certified gluten-free rolled oats if you’re accommodating gluten allergies. For a variation, you could substitute quick oats for a softer texture.
- Peanut Butter: While peanut butter adds a lovely flavor, feel free to substitute with almond butter or sunflower seed butter for nut-free options.
- Sweeteners: Maple syrup, honey, or agave all work well, depending on your preference or dietary needs.
- Chia Seeds: These add nutritional value but can be omitted if unavailable. Flax seeds can be a good alternative.
- Greek Yogurt: Swap with a plant-based yogurt for a dairy-free version or use your favorite flavored yogurt for an added twist.
Instructions
- In a large mixing bowl, mash the ripe bananas until smooth using a fork or potato masher.
- Add rolled oats, peanut butter, maple syrup, chia seeds, cinnamon, and salt to the mashed bananas. Mix well until all the oats are evenly coated.
- Let the mixture rest for 10 minutes to allow the oats to absorb moisture.
- Line a 12-cup muffin tin with liners or grease each cup.
- Scoop a large spoonful of the mixture, roll it into a 1-inch ball, and place it in a muffin cup. Press the ball into the bottom and sides, forming a cup shape.
- Place the muffin tin in the fridge and chill for at least 1 hour.
- Once set, spoon about 2 tablespoons of yogurt into each granola cup and top with fresh berries, chocolate chips, or your favorite toppings.
- Store in an airtight container in the fridge for 2 days, or keep unfilled cups for up to 5 days, or freeze unfilled cups for up to 3 months.
Expert Tips for the Best Results
- Ingredient Temperature: Ensure that your peanut butter is at room temperature to make it easier to mix.
- Chilling Time: Allowing ample time for the cups to chill in the fridge helps them set properly.
- Begin with Smaller Scoops: When filling the muffin tins, you can start with smaller amounts and build up to the desired cup shape.
- Use Variety in Toppings: Explore different yogurt flavors or try nuts, seeds, or even granola as toppings for added crunch.
Variations
- Fruit-Lover’s Cup: Swap fresh berries with sliced bananas, peaches, or even peaches for a seasonal twist.
- Nutty Delight: Throw some chopped nuts into the granola mixture for extra crunch.
- Chocolate Hazelnut: Use chocolate hazelnut spread instead of peanut butter for a sweeter taste.
- Coconut Paradise: Add shredded coconut to the mixture for a tropical flavor.
- Protein Power: Mix in your favorite protein powder to boost the protein content of each granola cup.
Serving Suggestions
These No Bake Granola Cups with Yogurt are superb as a standalone treat, but you can also enjoy them with a side of fresh fruit for a wholesome breakfast. Serve them with your favorite herbal tea or a smooth fruit smoothie for a balanced brunch. For a fun twist, pair them with a sprinkle of granola, a drizzle of nut butter on top, or even a dollop of whipped coconut cream.
Storage and Reheating
Store these granola cups in an airtight container in the fridge for up to 2 days. The unfilled cups can be kept fresh for up to 5 days, which makes these perfect for meal prep! You can also freeze the unfilled cups for up to 3 months, allowing you to enjoy them anytime a craving strikes; just thaw and fill them with yogurt when you’re ready to enjoy.
Common Mistakes to Avoid
- Not Mashing the Bananas Smoothly: Ensure the bananas are completely mashed for the best texture—lumps can lead to uneven cooking.
- Skipping the Chill Time: Don’t rush this step! Chilling is essential for the cups to hold their shape.
- Overfilling the Muffin Tin: Remember, they should be cups, not full muffins. Leave some space for the shape to form.
FAQ
Can I use a different nut butter besides peanut butter?
Absolutely! Almond butter, cashew butter, or sunflower seed butter work wonderfully in this recipe.
How long can I store the filled cups in the fridge?
Filled cups can last about 2 days in an airtight container. It’s best to keep the yogurt separate, if possible, to maintain texture.
Can I use frozen berries?
Yes, frozen berries can work; just thaw them first and drain any excess liquid before topping the yogurt.
What if my mixture is too dry?
If the mixture seems too dry, add a small amount of water or more mashed banana to help it stick together.
Is it possible to make these granola cups vegan?
Yes! Just ensure that you use a vegan yogurt and plant-based sweeteners.
Can I make these granola cups in mini muffin tins?
Certainly! This recipe can be adapted to mini muffin tins; just reduce the chilling time slightly and adjust the serving size.
Conclusion
No Bake Granola Cups with Yogurt offer a delightful and nutritious way to start your day or fuel your afternoon. Their versatility makes them a staple recipe, adaptable to your taste preferences while still being easy to prepare. Whether you’re serving them up at a brunch or simply enjoying them solo, they are sure to become a favorite in no time. Gather your ingredients, roll up your sleeves, and treat yourself to a batch of these satisfying granola cups. Don’t forget to share your creations or save this recipe for your next snack adventure! Happy munching!
No Bake Granola Cups with Yogurt
Ingredients
Method
- In a large mixing bowl, mash the ripe bananas until smooth using a fork or potato masher.
- Add rolled oats, peanut butter, maple syrup, chia seeds, cinnamon, and salt to the mashed bananas. Mix well until all the oats are evenly coated.
- Let the mixture rest for 10 minutes to allow the oats to absorb moisture.
- Line a 12-cup muffin tin with liners or grease each cup.
- Scoop a large spoonful of the mixture, roll it into a 1-inch ball, and place it in a muffin cup. Press the ball into the bottom and sides, forming a cup shape.
- Place the muffin tin in the fridge and chill for at least 1 hour.
- Once set, spoon about 2 tablespoons of yogurt into each granola cup and top with fresh berries, chocolate chips, or your favorite toppings.